Building an Open Data Lakehouse with OLake, PrestoDB & MinIO

Well, if you're looking to dive into the exciting world of modern data architecture - the lakehouse, you've come to the right place! Today we're building a complete open data lakehouse from scratch using MySQL, OLake, PrestoDB and MiniO. And the best part? We'll have it running on your local machine in just a few steps.
Now, you might be wondering, "What exactly is a data lakehouse?"
Well, it's essentially the best of both worlds - combining the flexibility and scale of data lakes with the performance and structure of data warehouses. Think of it as your data's new favorite hangout spot where it can be both raw and refined, depending on what you need.
The Architecture - Here's What We're Building
For this setup, we're going to orchestrate four key components that work together seamlessly:
- MySQL - Our source database where all the transactional data lives
- OLake - The star of our ETL show, handling data replication
- MinIO - Our S3-compatible object storage acting as the data lake
- PrestoDB - The lightning-fast query engine for analytics
What makes this architecture particularly elegant is how these components communicate through Apache Iceberg table format, ensuring we get ACID transactions, schema evolution, and time travel capabilities right out of the box.

How is the data flowing?
Here's where things get really interesting. Unlike traditional ETL pipelines that require complex Kafka, Debezium setups or batch processing windows, our architecture provides data replication without them. OLake captures changes from MySQL using Change Data Capture (CDC) and streams them directly into Iceberg tables stored in MinIO. Then PrestoDB can query this data instantly with sub-second latency.
Step 1: Setting Up OLake - CDC Engine
Olake has one of its unique offerings the OLake UI, which we will be using for our setup. This is a user-friendly control center for managing data pipelines without relying heavily on CLI commands. It allows you to configure sources, destinations, and jobs visually, making the setup more accessible and less error-prone. Many organizations actively use OLake UI to reduce manual CLI work, streamline CDC pipelines, and adopt a no-code-friendly approach.
For our setup, we will be working with the OLake UI. We'll start by cloning the repository from GitHub and bringing it up using Docker Compose. Once the UI is running, it will serve as our control hub for creating and monitoring all CDC pipelines.
Let's start by getting the interface running. Go ahead and create a folder named olake-setup. Inside this folder, create another folder called olake-data.
mkdir olake-setup
cd olake-setup
mkdir olake-data
Clone the OLake UI repository:
git clone https://github.com/datazip-inc/olake-ui.git
cd olake-ui
Now, here's the important part - open up the docker-compose file you would see a persistence path command there. We need to make sure the persistence path is set correctly. Otherwise, you'll lose all your configurations every time you restart the containers.
Make sure to run this command in your terminal so it saves your file location for the host persistence path:
export PWD=$(pwd)
The OLake UI docker-compose file uses ${PWD}/olake-data as the host persistence path. This means all your OLake configurations, job states, and metadata will be saved to an olake-data folder in your current directory. Well, that's exactly what we want - persistent storage that survives container restarts!
Now let's fire up the OLake UI:
cd olake-ui
docker compose up -d
Once it's running, go ahead at http://localhost:8000, olake-ui and use these credentials:

You are greeted with Olake UI!

Step 2: Deep Dive: Setting Up Our Project Structure - What Are We Actually Creating Here?
Alright, let me walk you through Step 2 in much more detail because this is where we're laying the foundation for our entire lakehouse. Think of this as building the blueprint before we start construction, every file we create here serves a specific purpose in our data architecture.
What We're Building - The File Layout
mkdir my-lakehouse
# Create the PrestoDB configuration directory
cd my-lakehouse
mkdir presto-config

# Inside presto-config, create the catalog subdirectory
cd presto-config
mkdir presto-config/catalog
Now at the root create two more files docker-compose.yml and init_mysql.sql what would they do?
The code they would hold and their functionalities described below. Now, here's what our folder structure looks like:
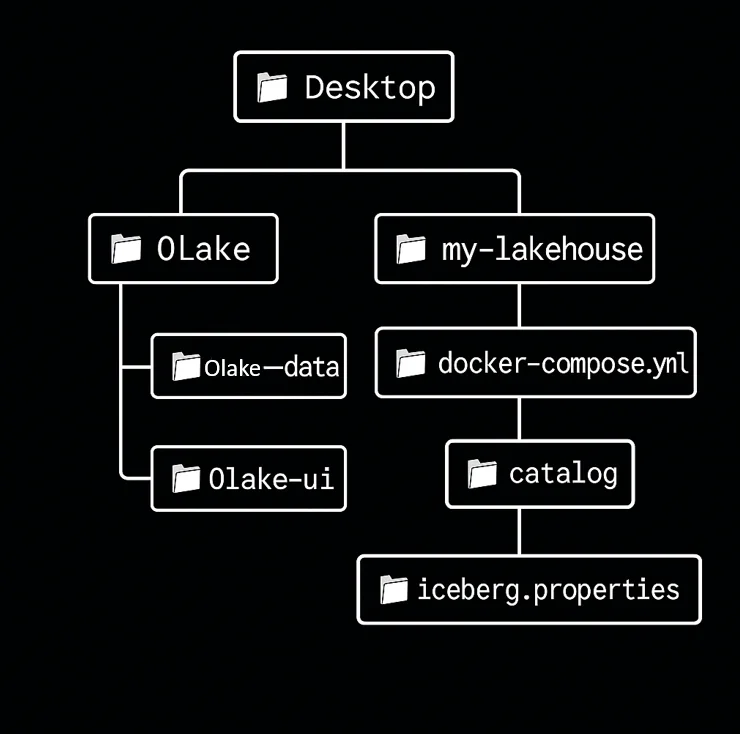
File-by-File Breakdown - What Each One Actually Does
1. docker-compose.yml - The Orchestra Conductor
This is the heart of our setup. Think of it as the conductor of an orchestra - it coordinates all our services and makes sure they can communicate with each other.
What it handles:
- Spins up MySQL, MinIO, Iceberg REST catalog, and PrestoDB containers
- Creates a private network so all services can find each other
- Maps ports so you can access web interfaces from your browser
- Sets up volume mounts for data persistence
- Defines environment variables that configure each service
version: '3.8'

services:
  # MySQL - Our Source Database
  mysql:
    image: mysql:8.0
    container_name: mysql-source
    ports:
      - "3306:3306"
    environment:
      MYSQL_ROOT_PASSWORD: root_password
      MYSQL_DATABASE: retail_db
      MYSQL_USER: olake_user
      MYSQL_PASSWORD: olake_password
    volumes:
      - ./mysql_data:/var/lib/mysql
      - ./init_mysql.sql:/docker-entrypoint-initdb.d/init_mysql.sql
    networks:
      - lakehouse-net

  # MinIO - S3-Compatible Object Storage
  minio:
    image: minio/minio:latest
    container_name: minio-storage
    ports:
      - "9000:9000"  # MinIO API
      - "9001:9001"  # MinIO Console
    environment:
      MINIO_ROOT_USER: minioadmin
      MINIO_ROOT_PASSWORD: minioadminpassword
    command: server /data --console-address ":9001"
    volumes:
      - ./minio_data:/data
    networks:
      - lakehouse-net

  # Iceberg REST Catalog
  iceberg-rest:
    image: tabulario/iceberg-rest:0.6.0
    container_name: iceberg-rest
    ports:
      - "8181:8181"
    environment:
      AWS_REGION: us-east-1
      CATALOG_WAREHOUSE: s3://lakehouse-warehouse/
      CATALOG_IO__IMPL: org.apache.iceberg.aws.s3.S3FileIO
      CATALOG_S3_ENDPOINT: http://minio:9000
      AWS_ACCESS_KEY_ID: minioadmin
      AWS_SECRET_ACCESS_KEY: minioadminpassword
      CATALOG_S3_PATH_STYLE_ACCESS: true
    depends_on:
      - minio
    networks:
      - lakehouse-net

  # PrestoDB Query Engine
  prestodb:
    image: prestodb/presto:latest
    container_name: prestodb-coordinator
    ports:
      - "8080:8080"
    volumes:
      - ./presto-config:/opt/presto-server/etc
    depends_on:
      - iceberg-rest
      - minio
    networks:
      - lakehouse-net

networks:
  lakehouse-net:
    driver: bridge

volumes:
  mysql_data:
  minio_data:
2. init_mysql.sql - The Data Seed File
Located at the root of the my-lakehouse folder. It would contain our sample data.
What it does:
- Creates our
retail_dbdatabase schema - Sets up tables for customers, orders, and products
- Inserts realistic sample data we can immediately work with
- Establishes foreign key relationships between tables
Dataset taken is a simplified example of a retail store database.
It contains three main tables:
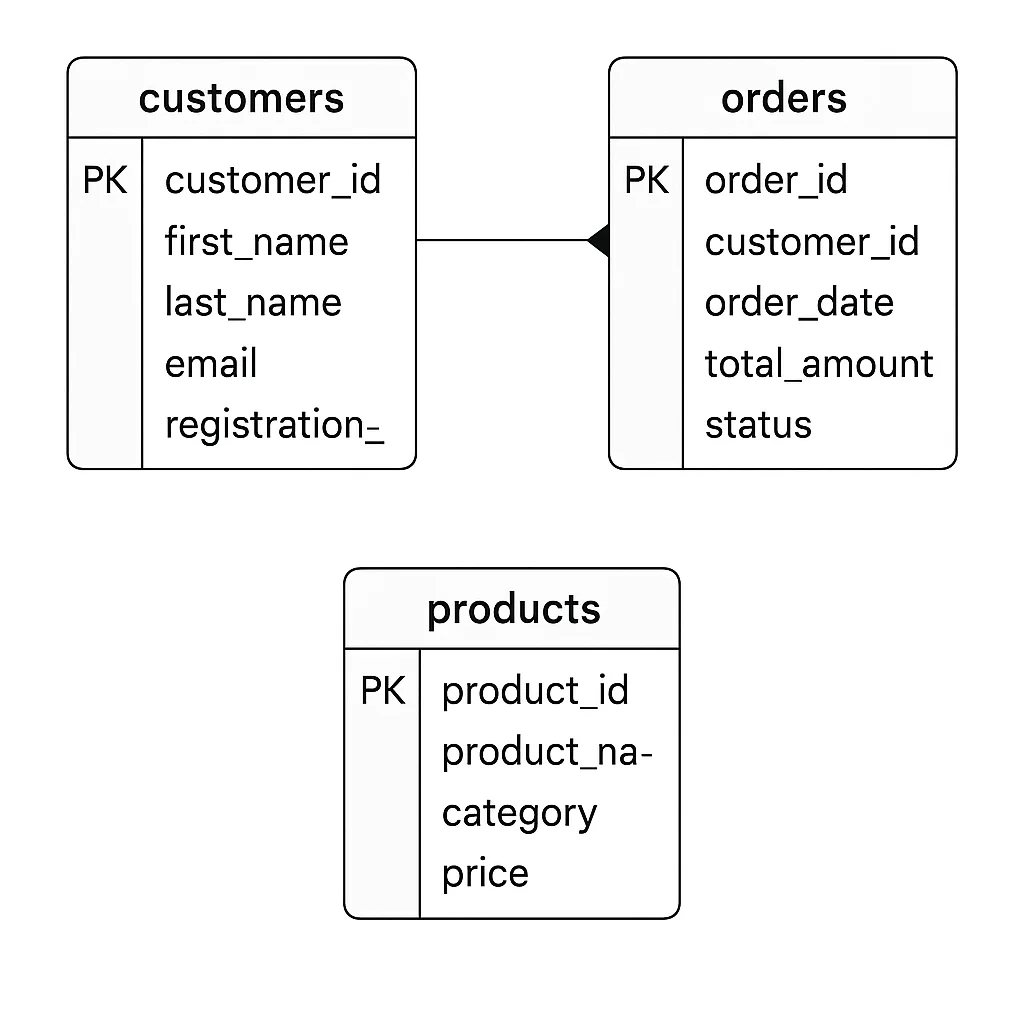
- customers – stores customer details such as name, email, and registration date.
- products – lists products available for sale, including their category and price.
- orders – records purchases made by customers, linking each order to a customer and storing details like order date, total amount, and status.
Sample data is included to represent typical customers, products, and orders, making it useful for testing queries and demonstrating retail store operations.
USE retail_db;

CREATE TABLE customers (
    customer_id INT AUTO_INCREMENT PRIMARY KEY,
    first_name VARCHAR(50),
    last_name VARCHAR(50),
    email VARCHAR(100),
    registration_date TIMESTAMP DEFAULT CURRENT_TIMESTAMP
);

CREATE TABLE orders (
    order_id INT AUTO_INCREMENT PRIMARY KEY,
    customer_id INT,
    order_date TIMESTAMP DEFAULT CURRENT_TIMESTAMP,
    total_amount DECIMAL(10,2),
    status VARCHAR(20),
    FOREIGN KEY (customer_id) REFERENCES customers(customer_id)
);

CREATE TABLE products (
    product_id INT AUTO_INCREMENT PRIMARY KEY,
    product_name VARCHAR(100),
    category VARCHAR(50),
    price DECIMAL(10,2)
);

-- Insert sample customers
INSERT INTO customers (first_name, last_name, email) VALUES
('John', 'Doe', 'john.doe@example.com'),
('Jane', 'Smith', 'jane.smith@example.com'),
('Mike', 'Johnson', 'mike.johnson@example.com'),
('Sarah', 'Wilson', 'sarah.wilson@example.com'),
('Tom', 'Brown', 'tom.brown@example.com');

-- Insert sample products
INSERT INTO products (product_name, category, price) VALUES
('Laptop Pro', 'Electronics', 1299.99),
('Wireless Mouse', 'Electronics', 29.99),
('Office Chair', 'Furniture', 249.99),
('Standing Desk', 'Furniture', 399.99),
('Coffee Maker', 'Appliances', 89.99);

-- Insert sample orders
INSERT INTO orders (customer_id, total_amount, status) VALUES
(1, 1329.98, 'completed'),
(2, 249.99, 'shipped'),
(3, 89.99, 'processing'),
(4, 399.99, 'completed'),
(5, 29.99, 'shipped');
This SQL script runs automatically when MySQL starts up for the first time. It's like giving MySQL a head start by creating sample tables and inserting test data.
Step 3: Configuring PrestoDB for Iceberg
First, let's set up the Iceberg catalog in presto-config/catalog/iceberg.properties:
connector.name=iceberg
iceberg.catalog.type=rest
iceberg.rest.uri=http://iceberg-rest:8181
iceberg.catalog.warehouse=s3://lakehouse-warehouse/
hive.s3.path-style-access=true
hive.s3.endpoint=http://minio:9000
hive.s3.aws-access-key=minioadmin
hive.s3.aws-secret-key=minioadminpassword
Step 4: Fire It Up!
Now comes the exciting part - let's bring our entire lakehouse to life:
cd my-lakehouse
docker compose up -d
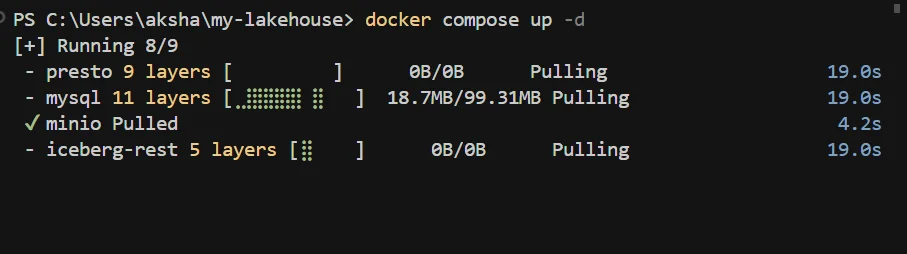
This will start all our services. You can monitor the startup progress and check that everything is running smoothly:
docker compose ps

Step 5: MinIO Console - Your Data Lake Dashboard
Access the MinIO Console at http://localhost:9001
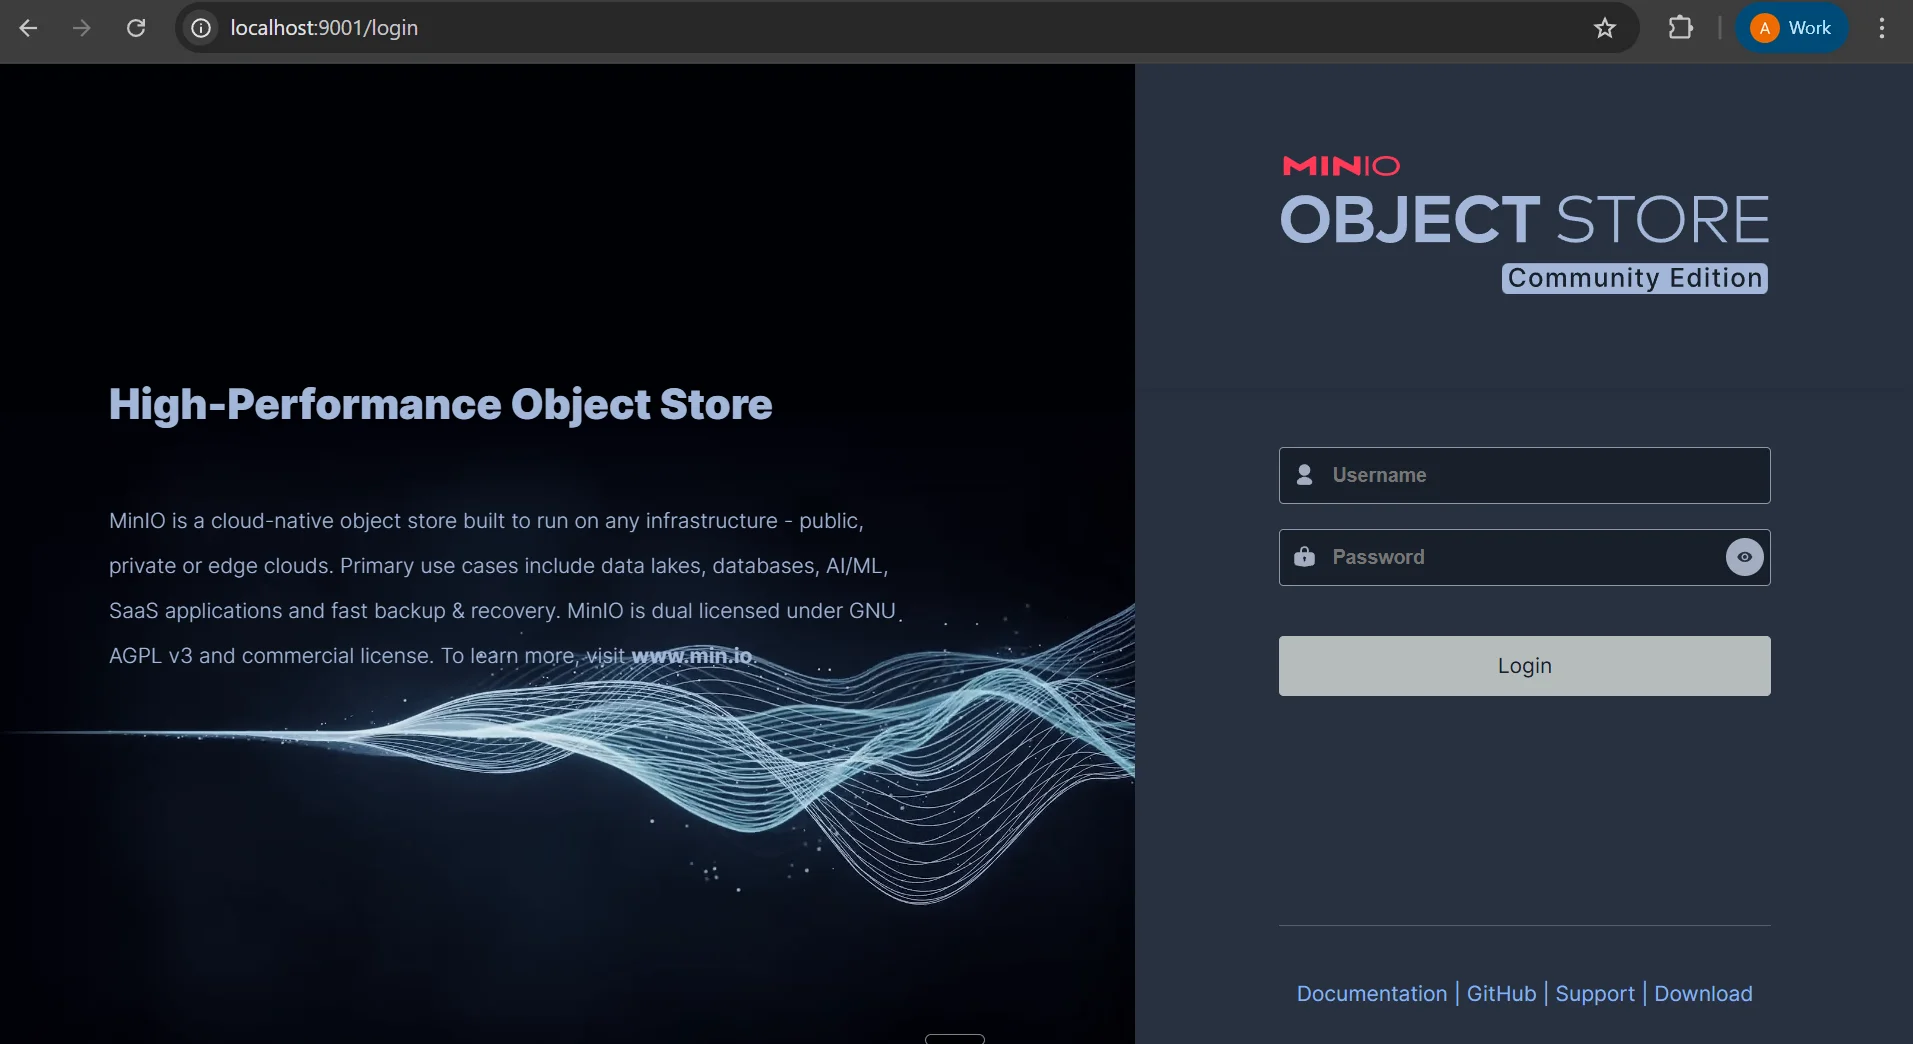
Credentials to login are:
- Username: minioadmin
- Password: minioadminpassword
Head over to new bucket on the left panel and create a bucket. Name it whatever you want we will go ahead with mylakehousedata in this demo.
Step 6: Configure OLake for Data Replication
Complete walkthrough video below
With OLake UI running at http://localhost:8000, you can now configure your first data pipeline:
Create a Source Connection
Add your MySQL connection details. Follow tutorial below and configure the source details as follows:
- Connector: MySQL
- Name of your source: mysql (or a descriptive name of your choosing)
- OLake Version: latest
- MySQL Host: host.docker.internal (or your Orbstack domain)
- Port: 3306
- Database: retail_db (or your specific database name)
- Username: user (or your MySQL root username)
- Password: password
Source Configuration Video:
Set up the Destination
After completing step 1 configure the destination:
- Connector: Apache Iceberg
- Catalog: REST Catalog
- Name of your destination: temp_destination (or a descriptive name of your choosing)
- Version: latest
- REST Catalog URI: http://host.docker.internal:8181
- Iceberg S3 Path (Warehouse): s3://mylakehousedata/
- Iceberg Database: warehouse
- S3 Endpoint: http://host.docker.internal:9000
- AWS Region: us-east-1
- AWS Access Key: minioadmin
- AWS Secret Key: minioadminpassword
Destination Configuration Video:
Final step is to Click 'Next' again to finalize the data ingestion process by assigning a suitable Job name. The beauty of OLake is its simplicity - what used to require complex Debezium configurations now takes just a few clicks through the UI.
Complete Video Walkthrough
Step 7: Query Your Data with PrestoDB
Head over to http://localhost:8080 to access the PrestoDB Web UI. You can now run SQL queries directly against your Iceberg tables:
select * from iceberg.warehouse.products
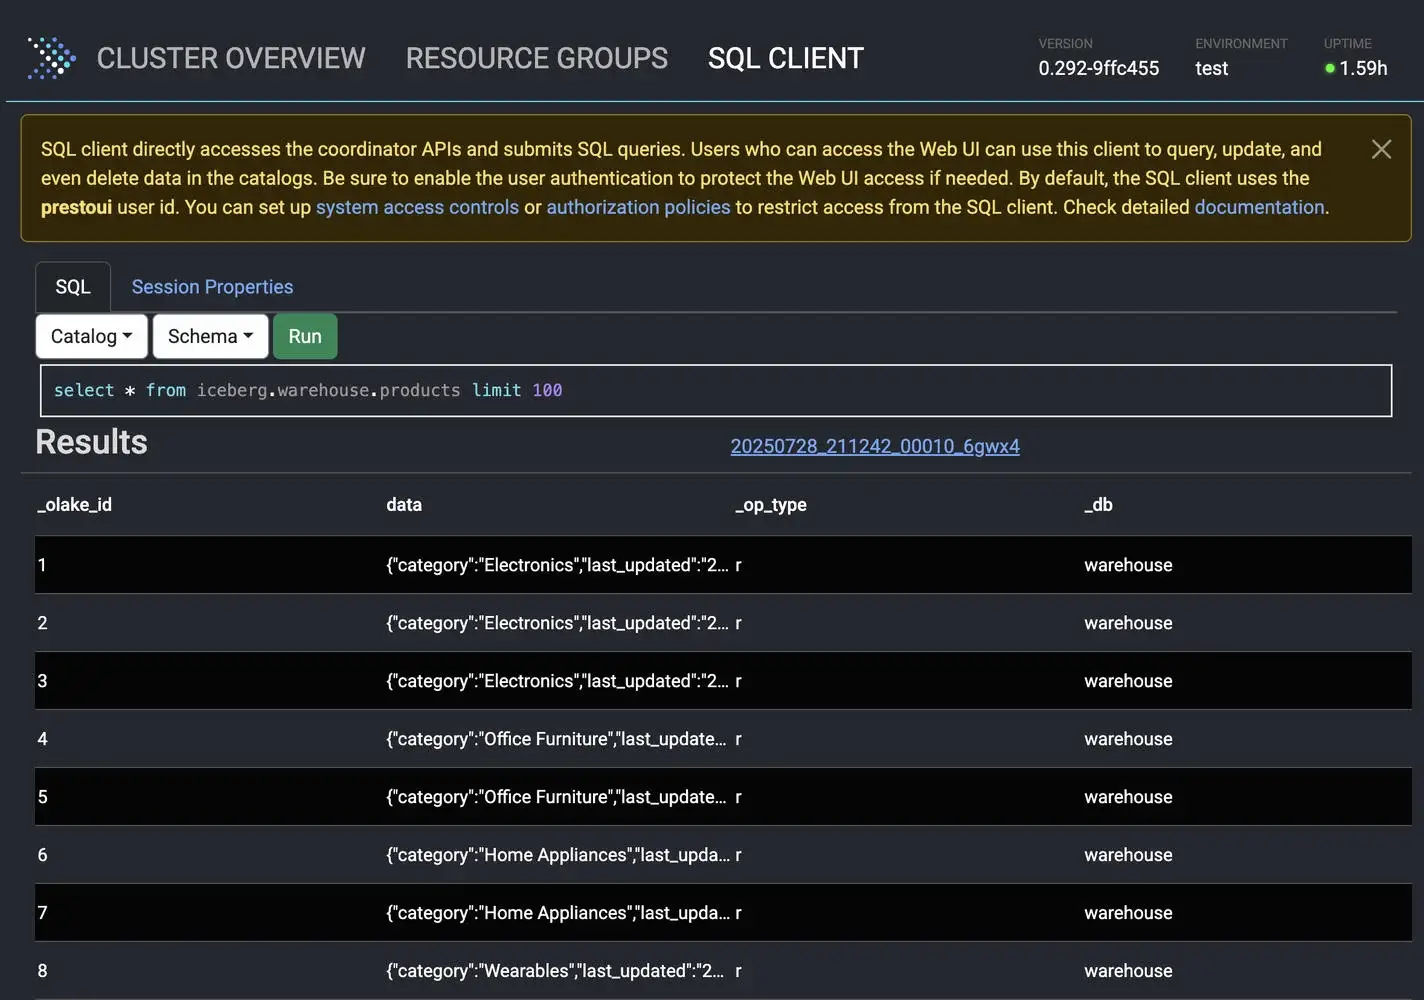
Well, the really exciting part is watching near real-time queries work. Try updating some data in MySQL and then immediately querying it through Presto - you'll see the changes reflected within seconds!
The Performance Story
What makes this setup particularly impressive is the performance characteristics we get. OLake's benchmarks show it can process over 46,000 rows per second, which is significantly faster than traditional ETL tools like Airbyte (457 rows/second) or Estuary (3,982 rows/second).
This means your analytics workloads get fresher data with lower infrastructure costs. The combination of OLake's efficient CDC with PrestoDB's vectorized execution engine creates a seriously powerful analytics platform.
Monitoring and Observability
Each component in our stack provides excellent monitoring capabilities:
- OLake UI: Sync status and performance metrics
- MinIO Console: Storage utilization and bucket management
- PrestoDB Web UI: Query performance and cluster health
- MySQL: Standard database monitoring
What's Next?
With your lakehouse up and running, you can start exploring advanced features:
- Schema Evolution: Modify your MySQL tables and watch Iceberg handle the changes gracefully
- Time Travel: Query historical versions of your data
- Partitioning: Optimize query performance with intelligent data partitioning
- Multiple Sources: Add PostgreSQL, MongoDB, or other databases to your pipeline
Wrapping Up
Building an open data lakehouse has never been this straightforward. With MySQL as our reliable source, OLake handling the heavy lifting of data replication, MinIO providing scalable storage, and PrestoDB delivering lightning-fast analytics, we've created a modern data platform that can scale with your needs.
The best part? Everything we've built uses open-source tools, giving you complete control over your data architecture without vendor lock-in. Whether you're a startup looking to build your first data platform or an enterprise seeking to modernize legacy systems, this lakehouse pattern provides a solid foundation for data-driven decision making.
Well, there you have it - your very own open data lakehouse, running locally and ready for real-world workloads. The combination of these tools creates something truly powerful: a platform where your data can be both a lake and a warehouse, structured and unstructured, batch and streaming, all at the same time.
Otherwise, you'd be stuck with traditional approaches that force you to choose between flexibility and performance. But with this modern lakehouse architecture, you get the best of both worlds and that's pretty exciting if you ask me!
OLake
Achieve 5x speed data replication to Lakehouse format with OLake, our open source platform for efficient, quick and scalable big data ingestion for real-time analytics.