
 Twitter
 LinkedIn
 Facebook
 Email
Email
Configuring Table Compaction
Each table in OLake Fusion can have its own compaction schedule and advanced settings.
1. Table Level Configuration
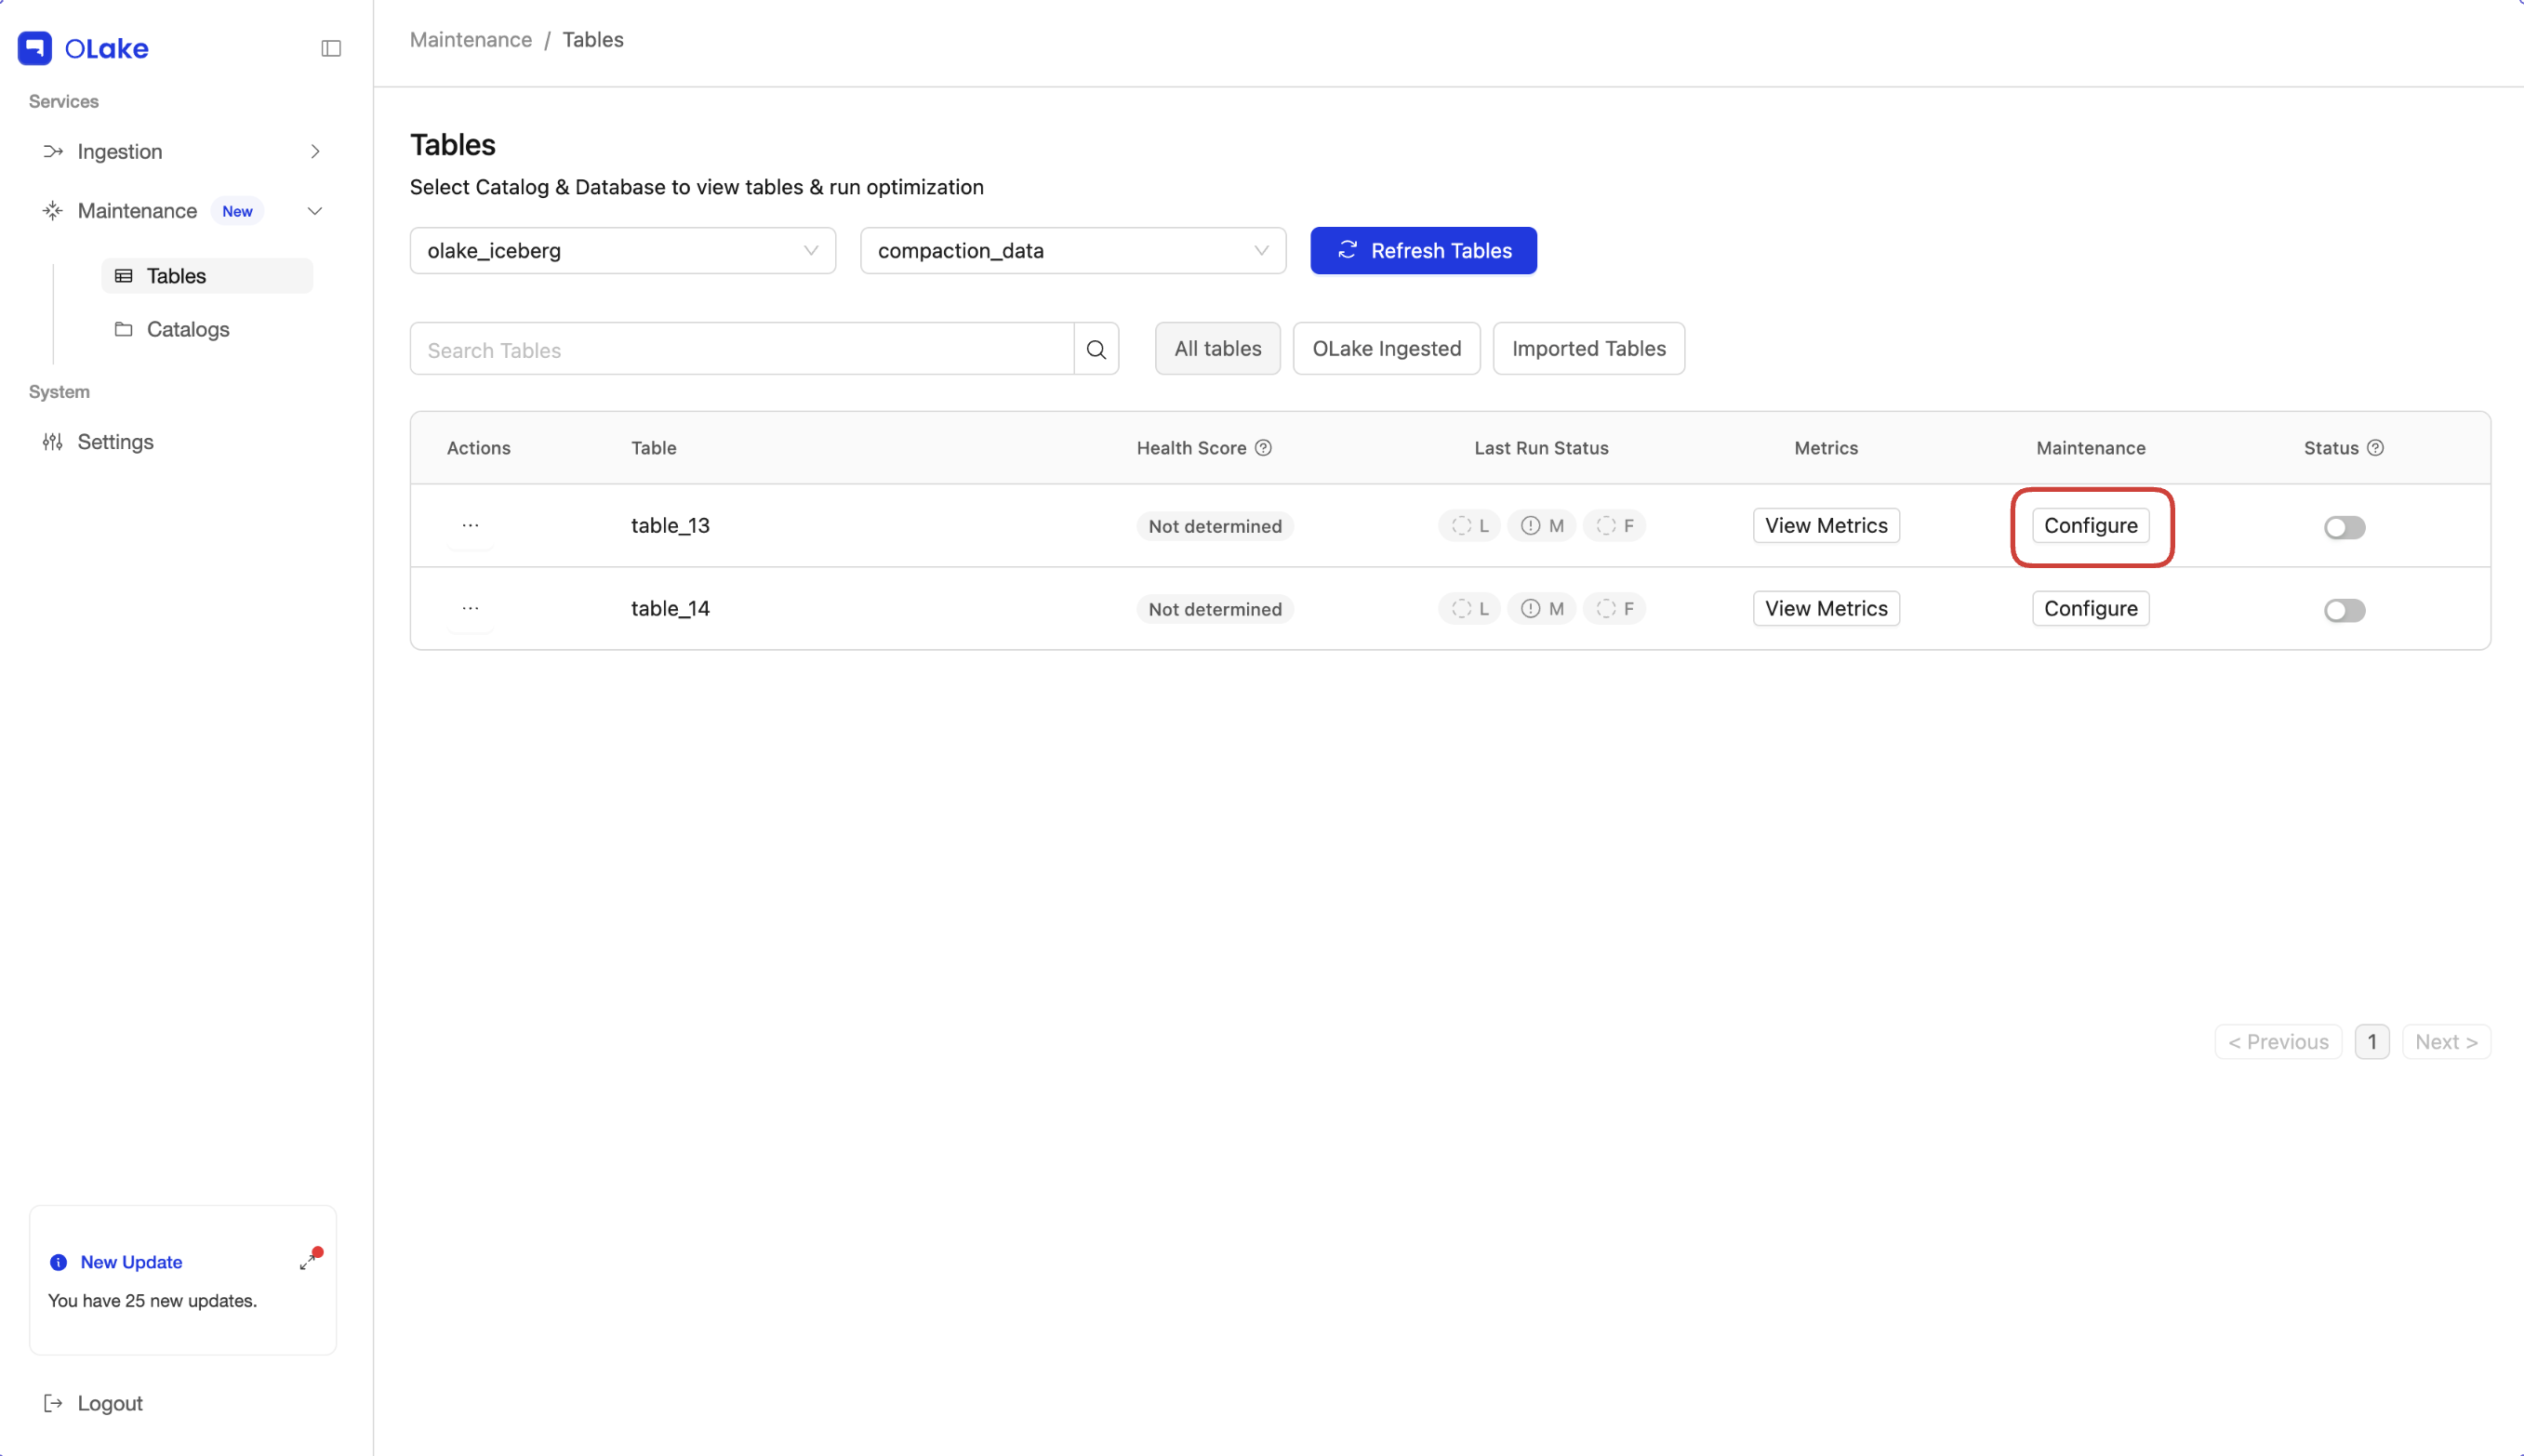
Step 1. Click the Configure Button
Click the Configure button next to the table you want to compact. This opens a modal where you can schedule Lite, Medium, and Full compactions.
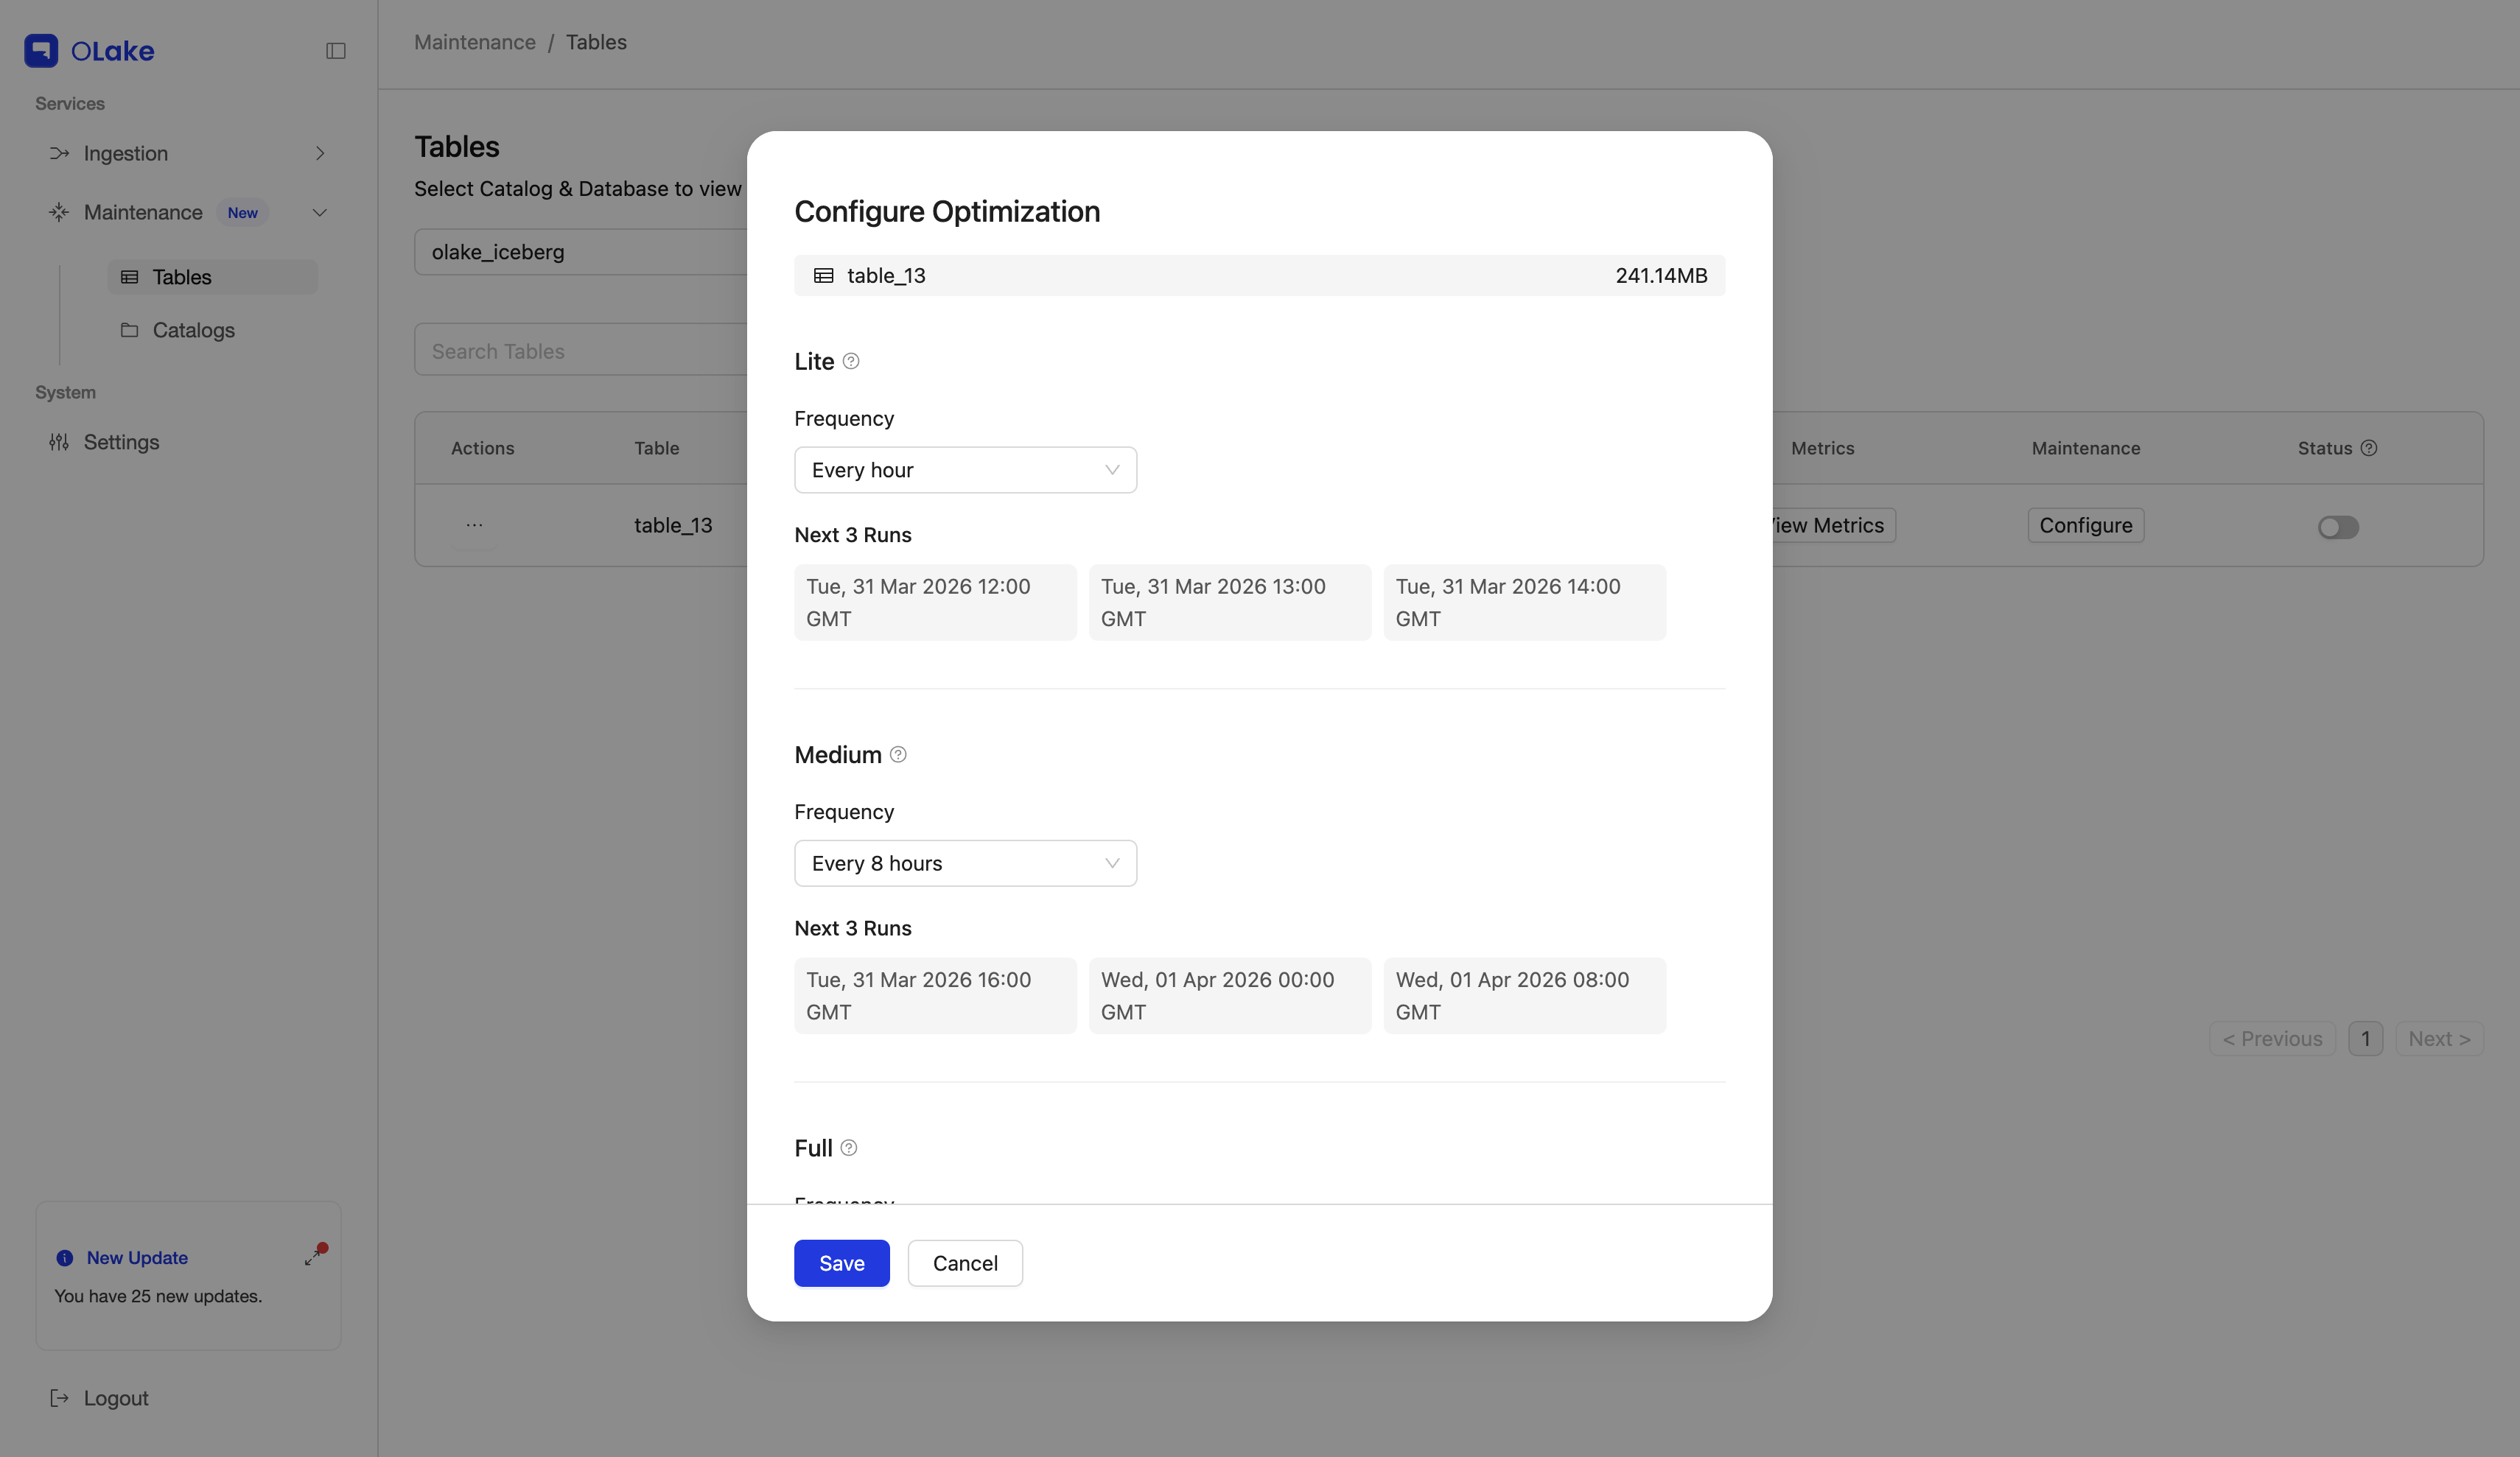
Step 2. Set the Compaction Schedule
- Select a schedule from the predefined dropdown options or choose Custom to specify your own cron expression.
- Compaction will run automatically according to the schedule set for that table.
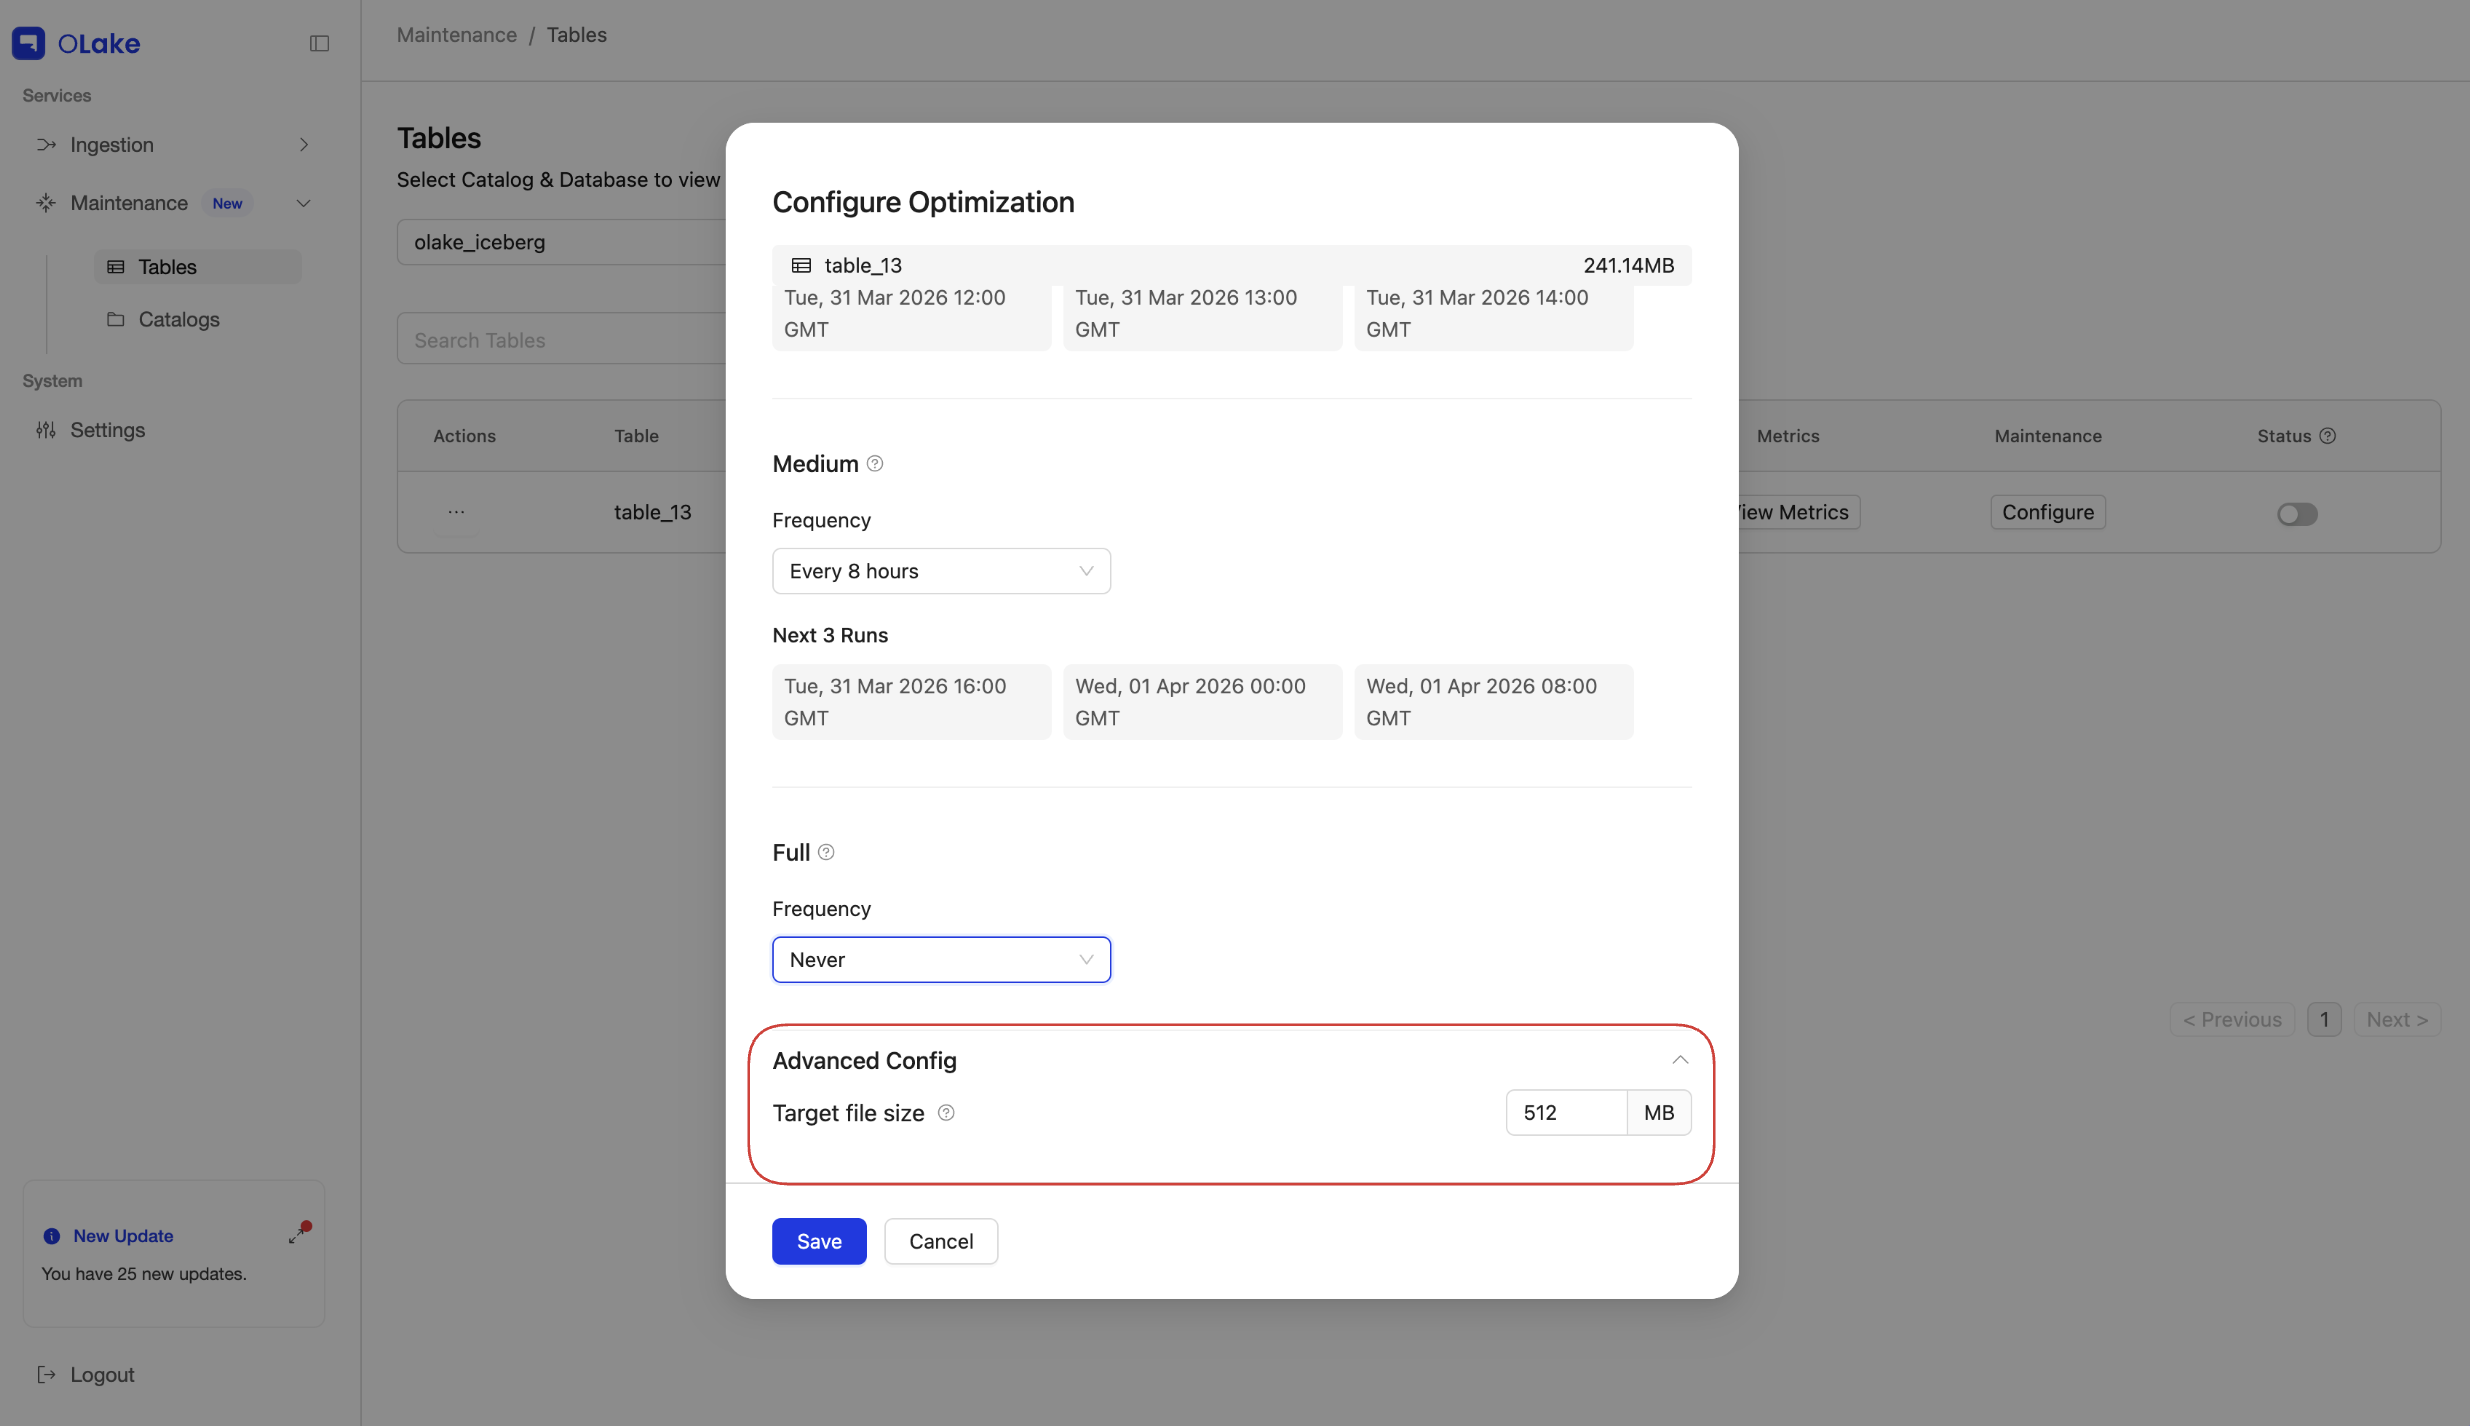
Step 3. Advanced Config: Target File Size
- Expand the Advanced Config panel in the modal.
- Specify the Target File Size for the table (default 512 MB if you leave it unchanged).
For how target file size affects Lite, Medium, and Full compaction, see Types of Compaction Supported in OLake Fusion.
Tip: Choose a target size based on your query patterns and table size. Larger files can improve scan efficiency based on the query but may increase the cost of rewriting files.
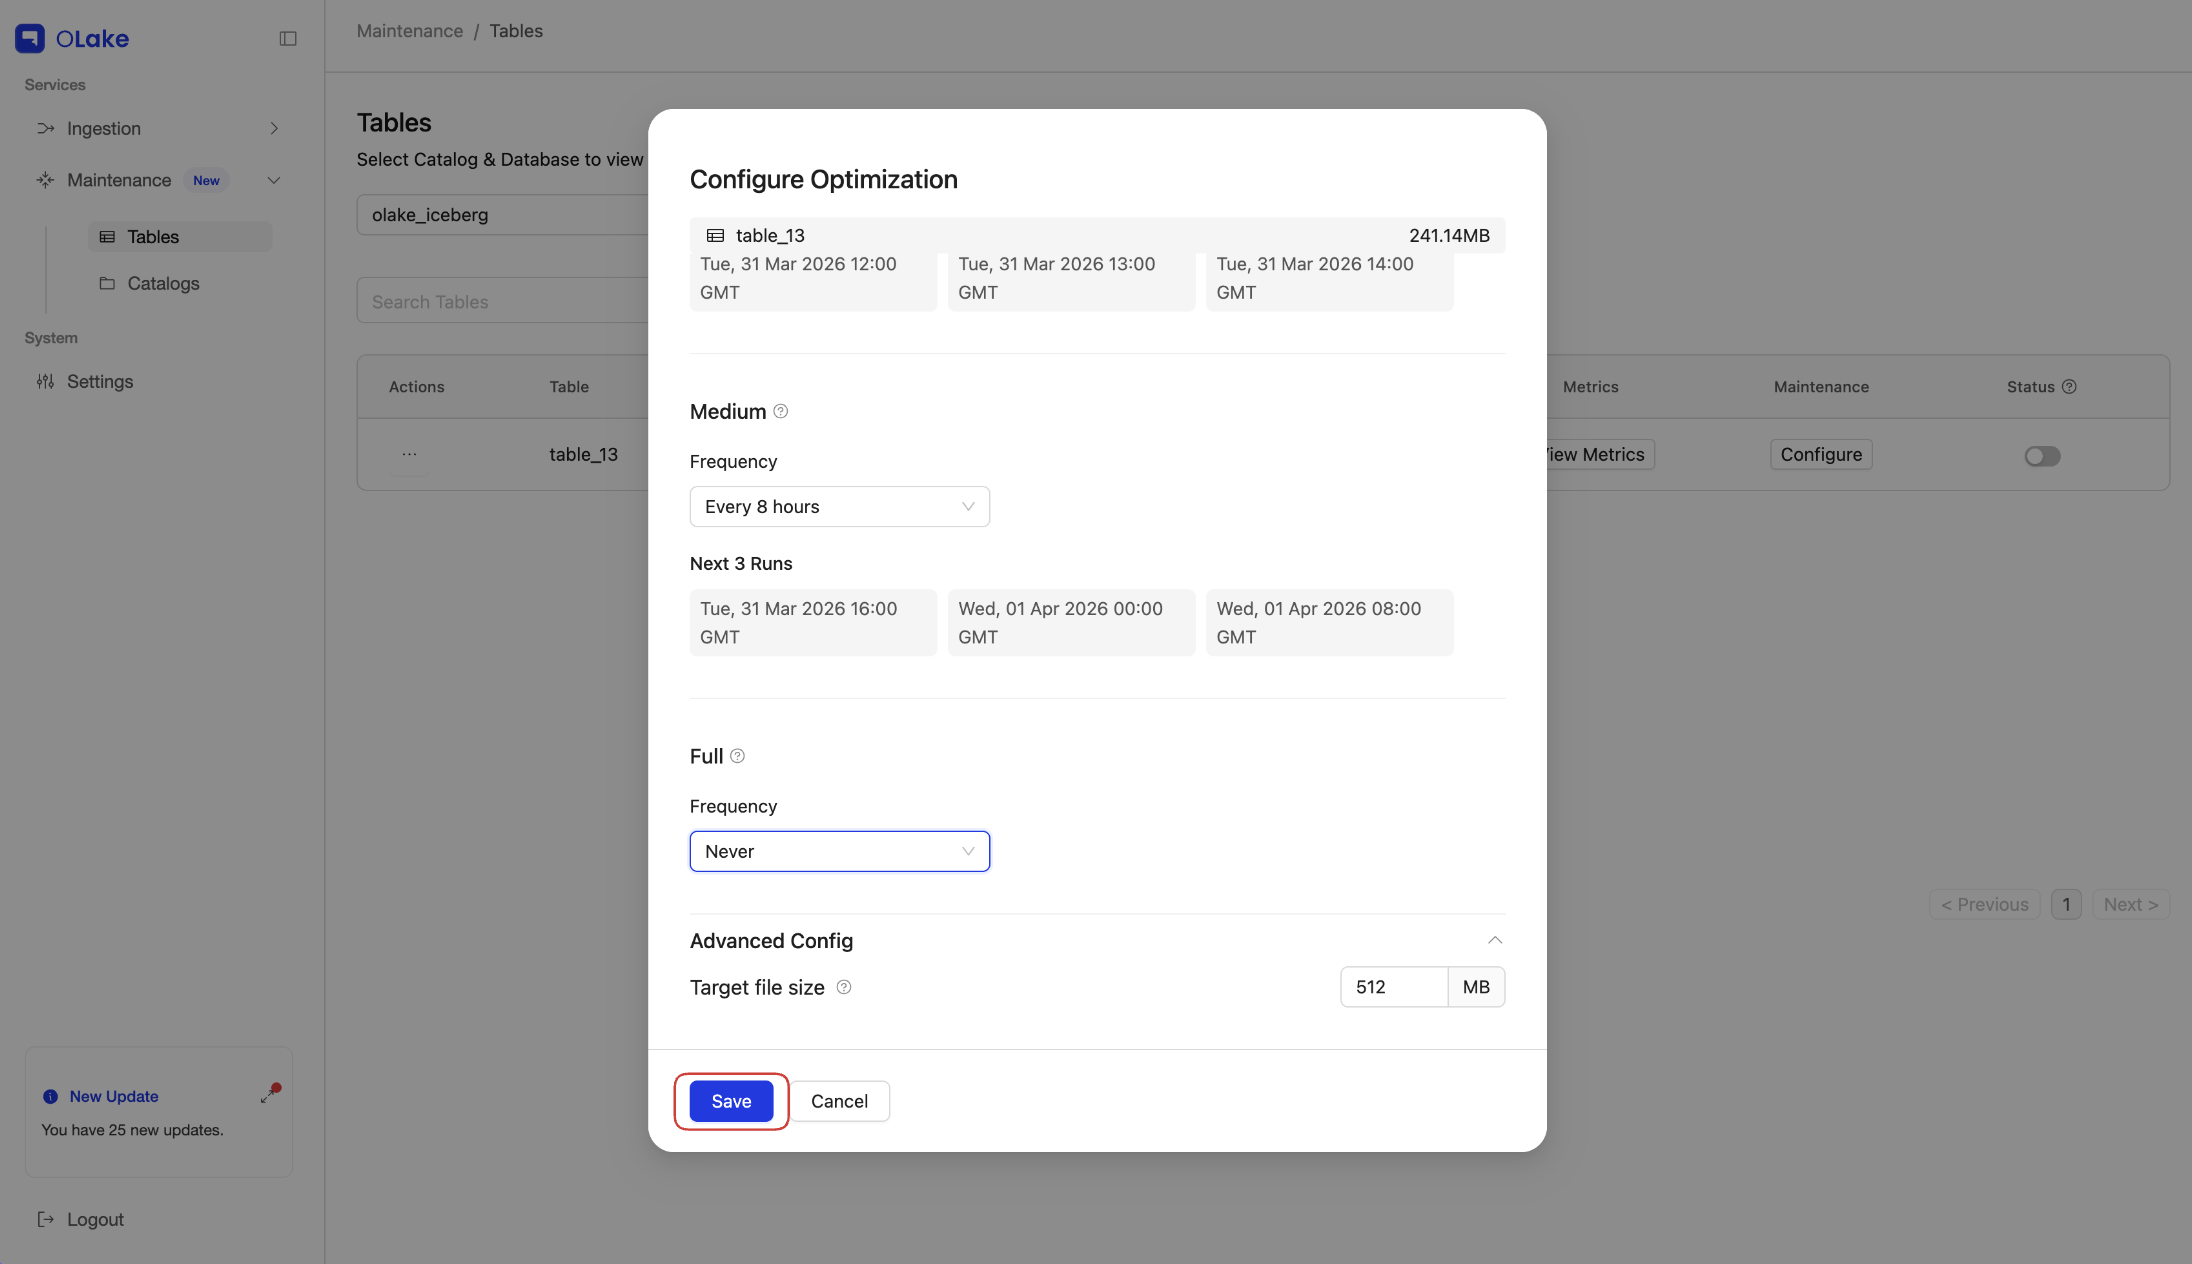
Step 4. Save the Configuration
- Click Save.
- A dialog box confirms that the configuration was successful.
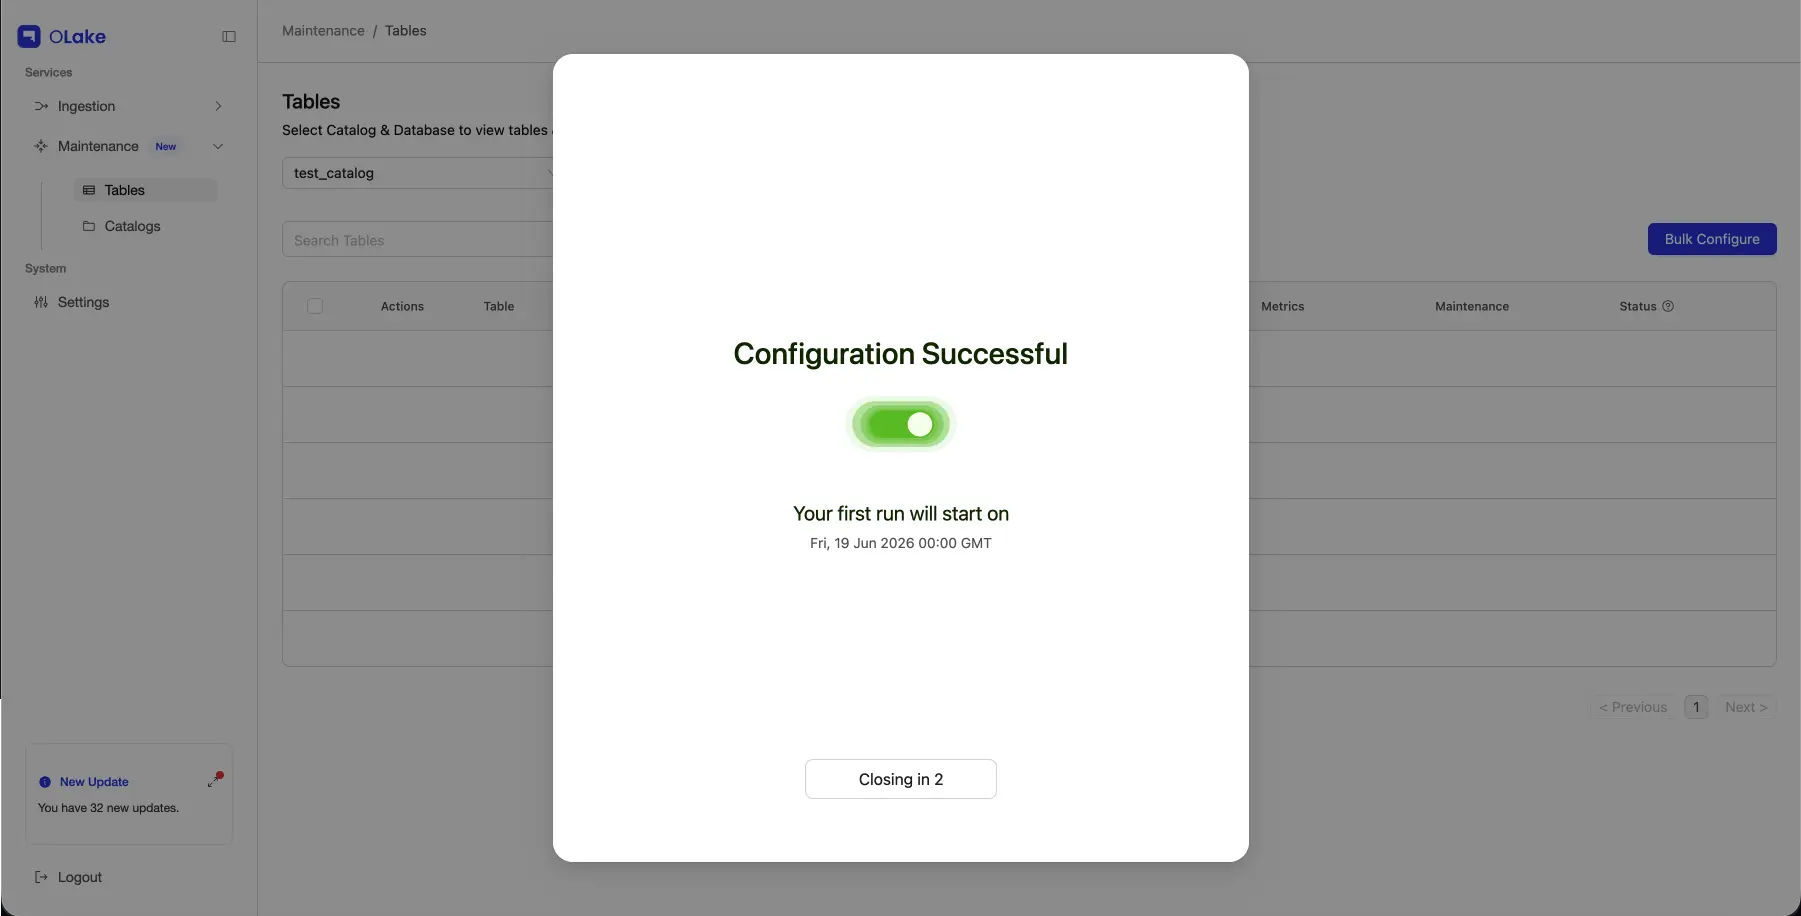
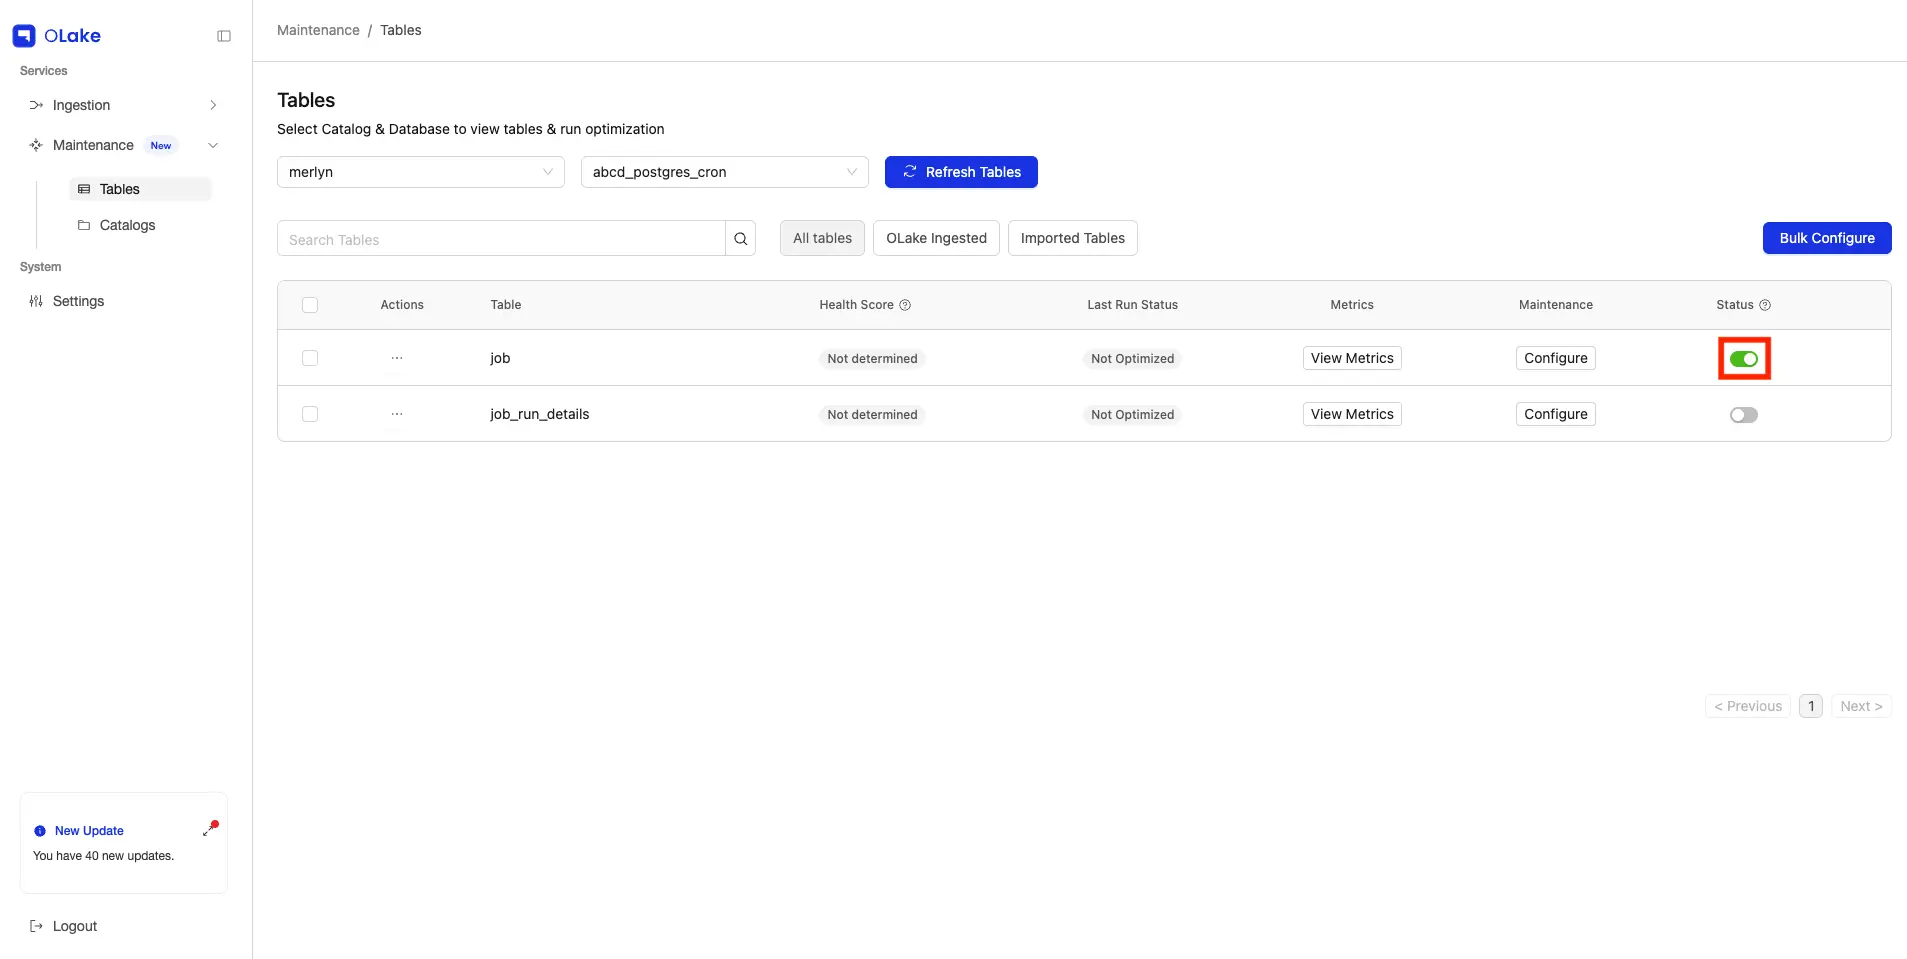
- Once saved, the Status toggle for that table turns on automatically and compaction runs on the schedule you configured. Confirm this in the Status column as the toggle should appear active.
2. Bulk Configuration
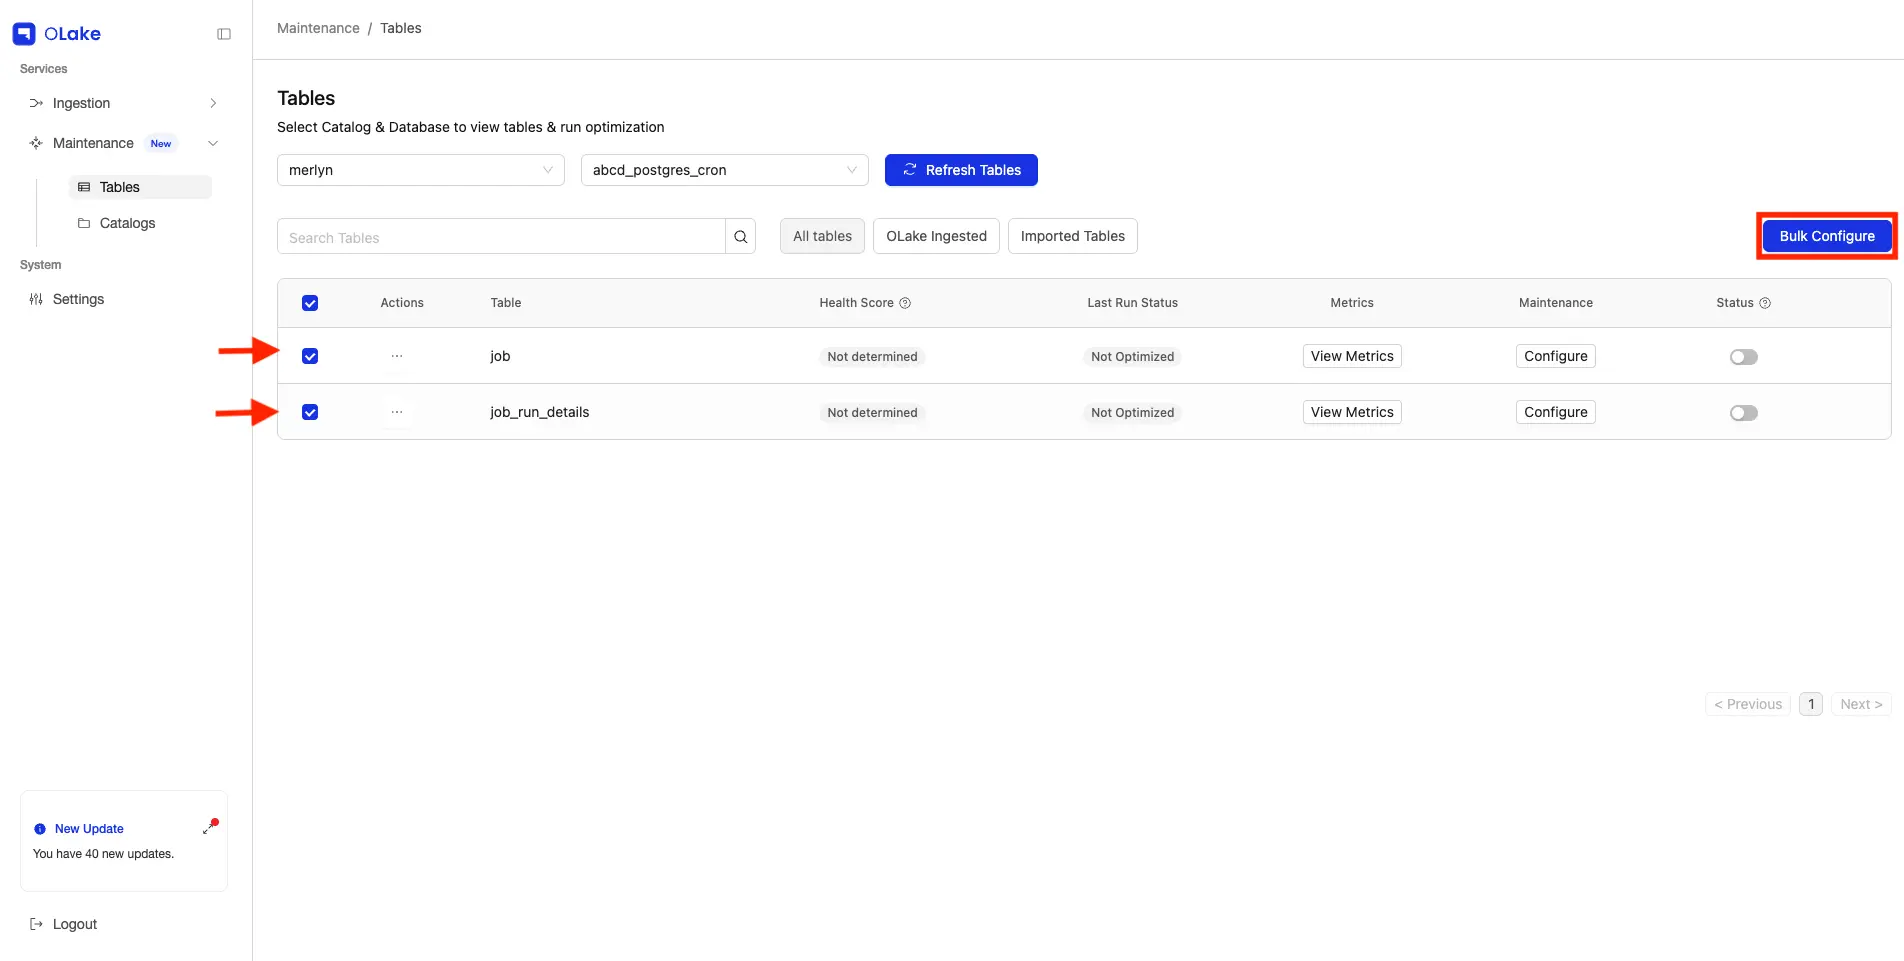
Bulk configuration lets you apply the same compaction schedule and settings to multiple tables in one go, instead of configuring each table individually.
To get started, select the tables you want to configure from the Tables page using their checkboxes, then click Bulk Configure. The same configuration modal opens — set the schedule, target file size, and save, exactly as described in Steps 2–4 of Single Table Configuration.
If any configuration is left unset, the following defaults apply: 24 hours as the frequency for each compaction type and 512 MB as the target file size.