Last updated:|... min read
Configuring Table Optimization in Olake
Each table in Olake can have its own optimization schedule and advanced settings. Follow these steps to configure optimization for a specific table:
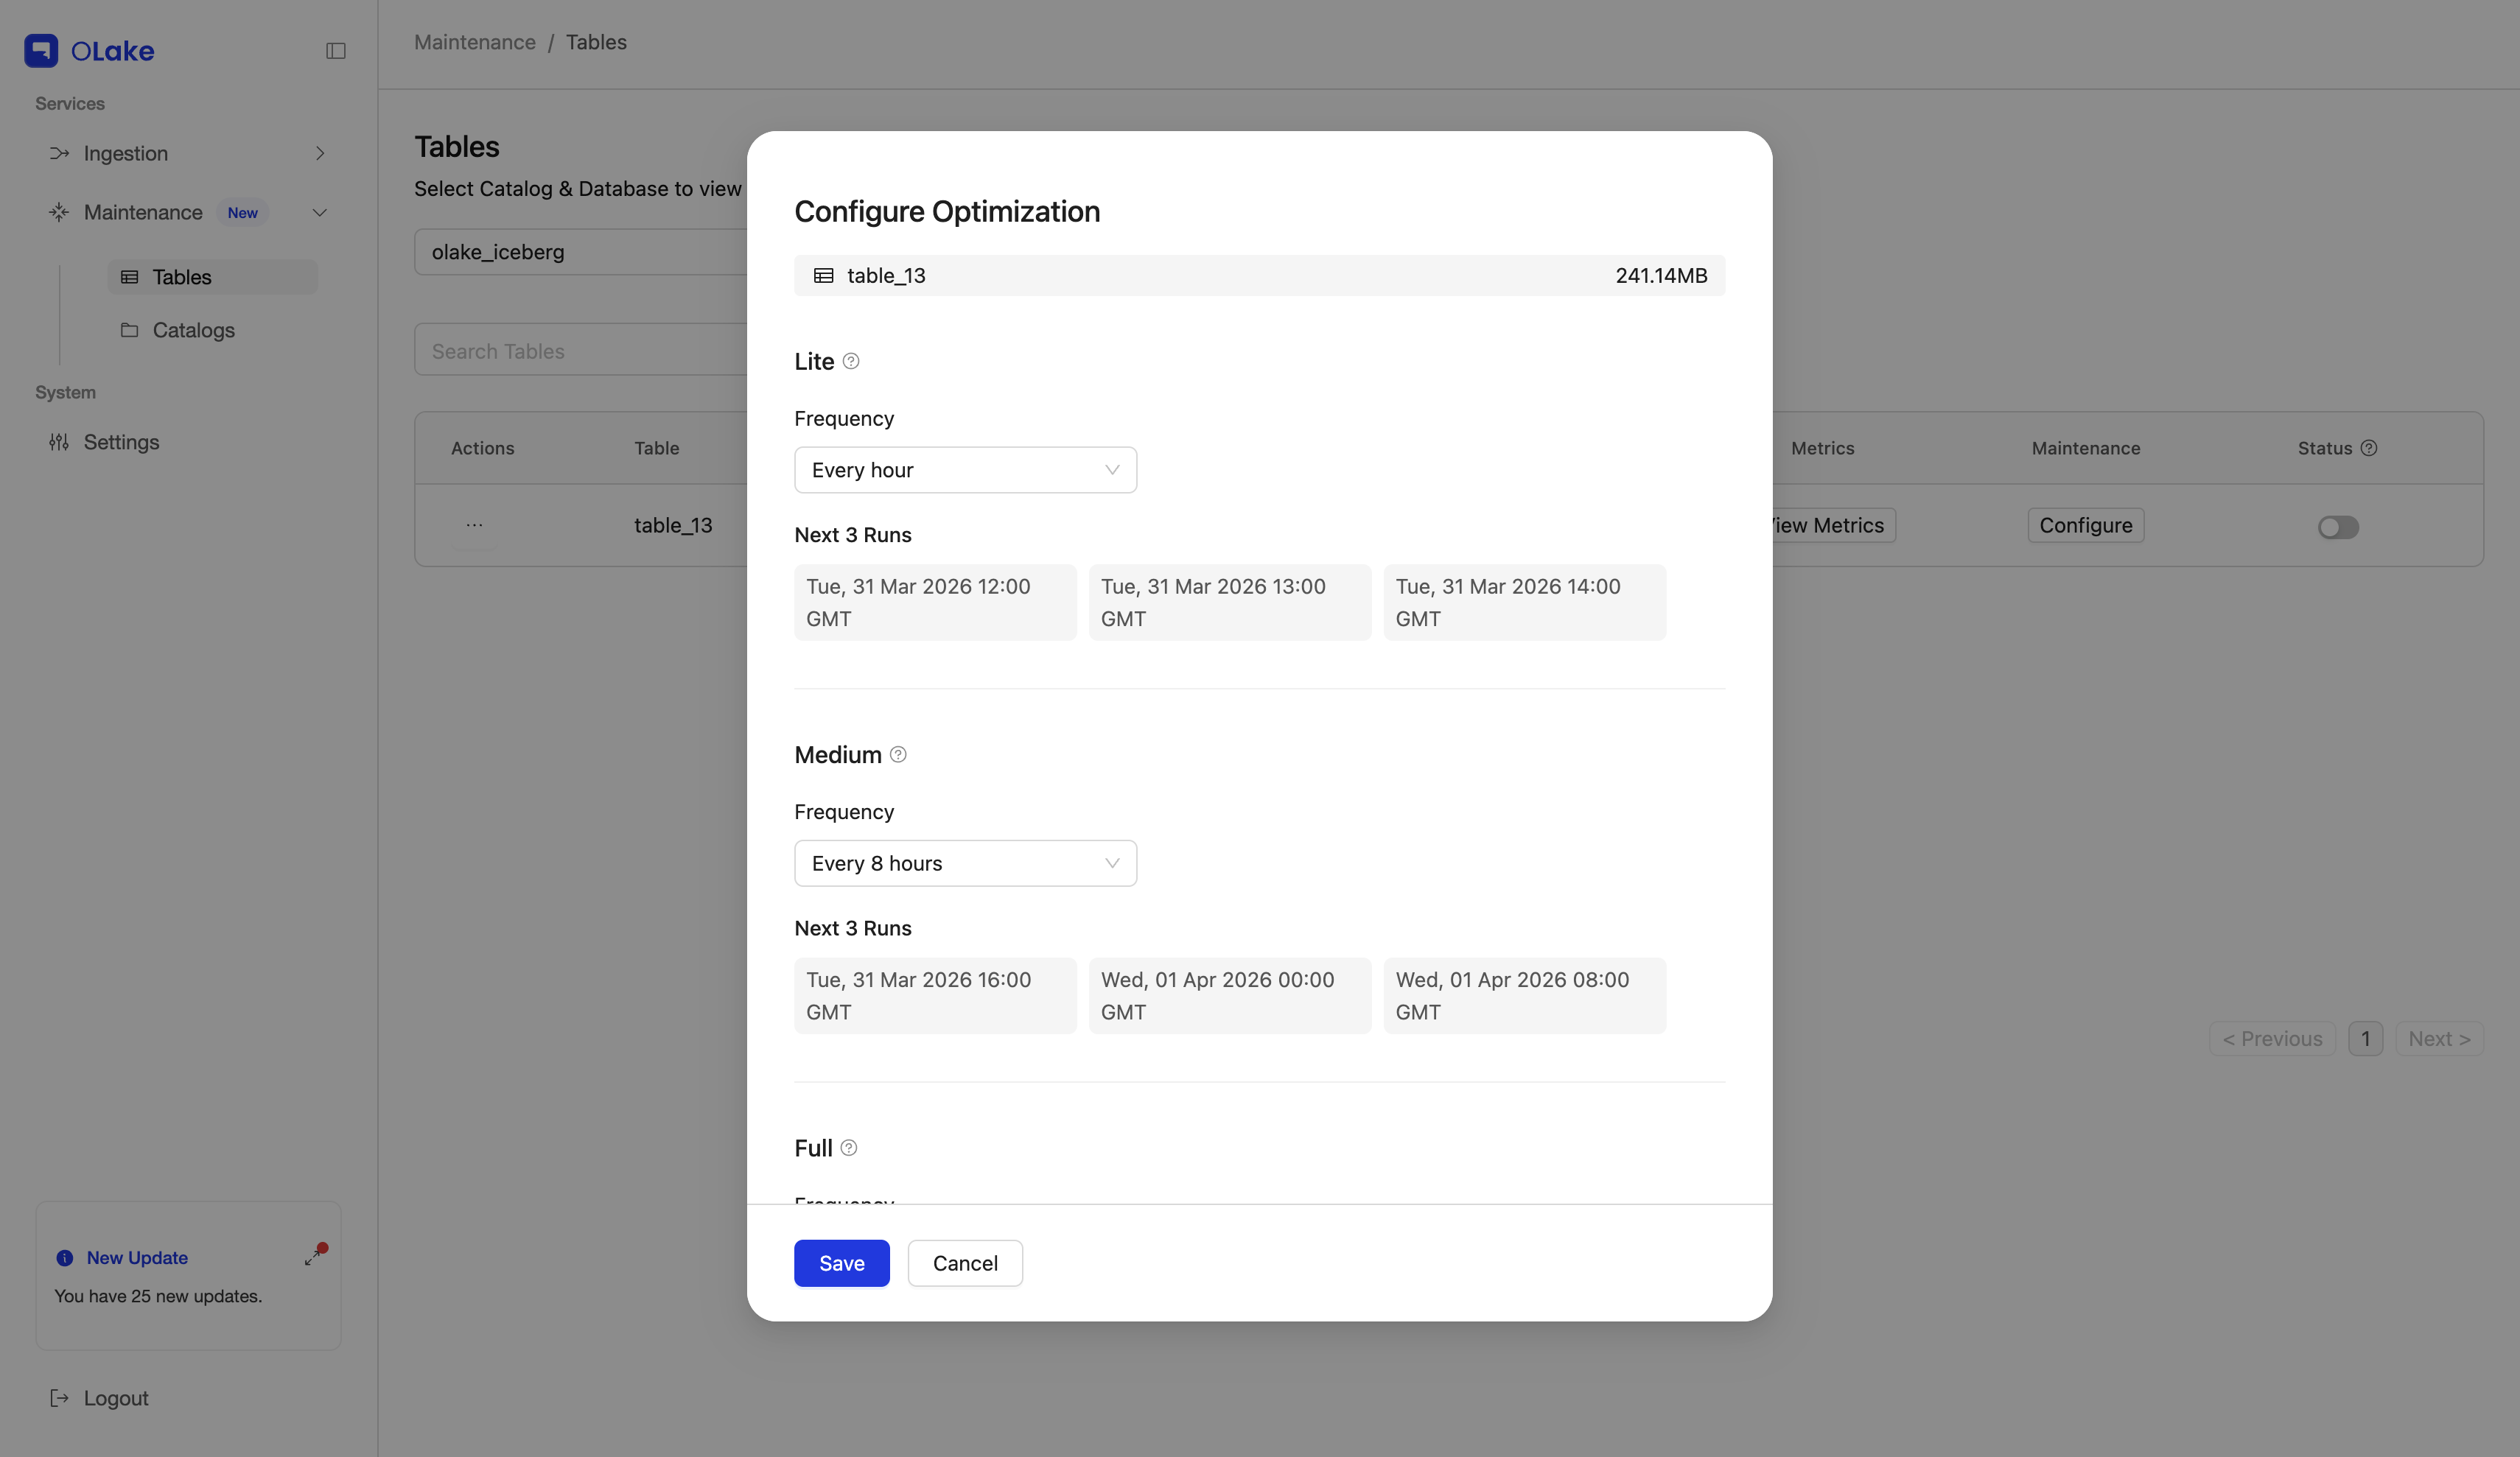
1. Click the Configure Button
Click the Configure button next to the table you want to optimize.
This opens a modal where you can schedule Lite, Medium, and Full optimizations.

2. Set the Optimization Schedule
- Select a schedule from the predefined dropdown options or choose Custom to specify your own cron expression.
- The optimization will run automatically according to the schedule set for that table.
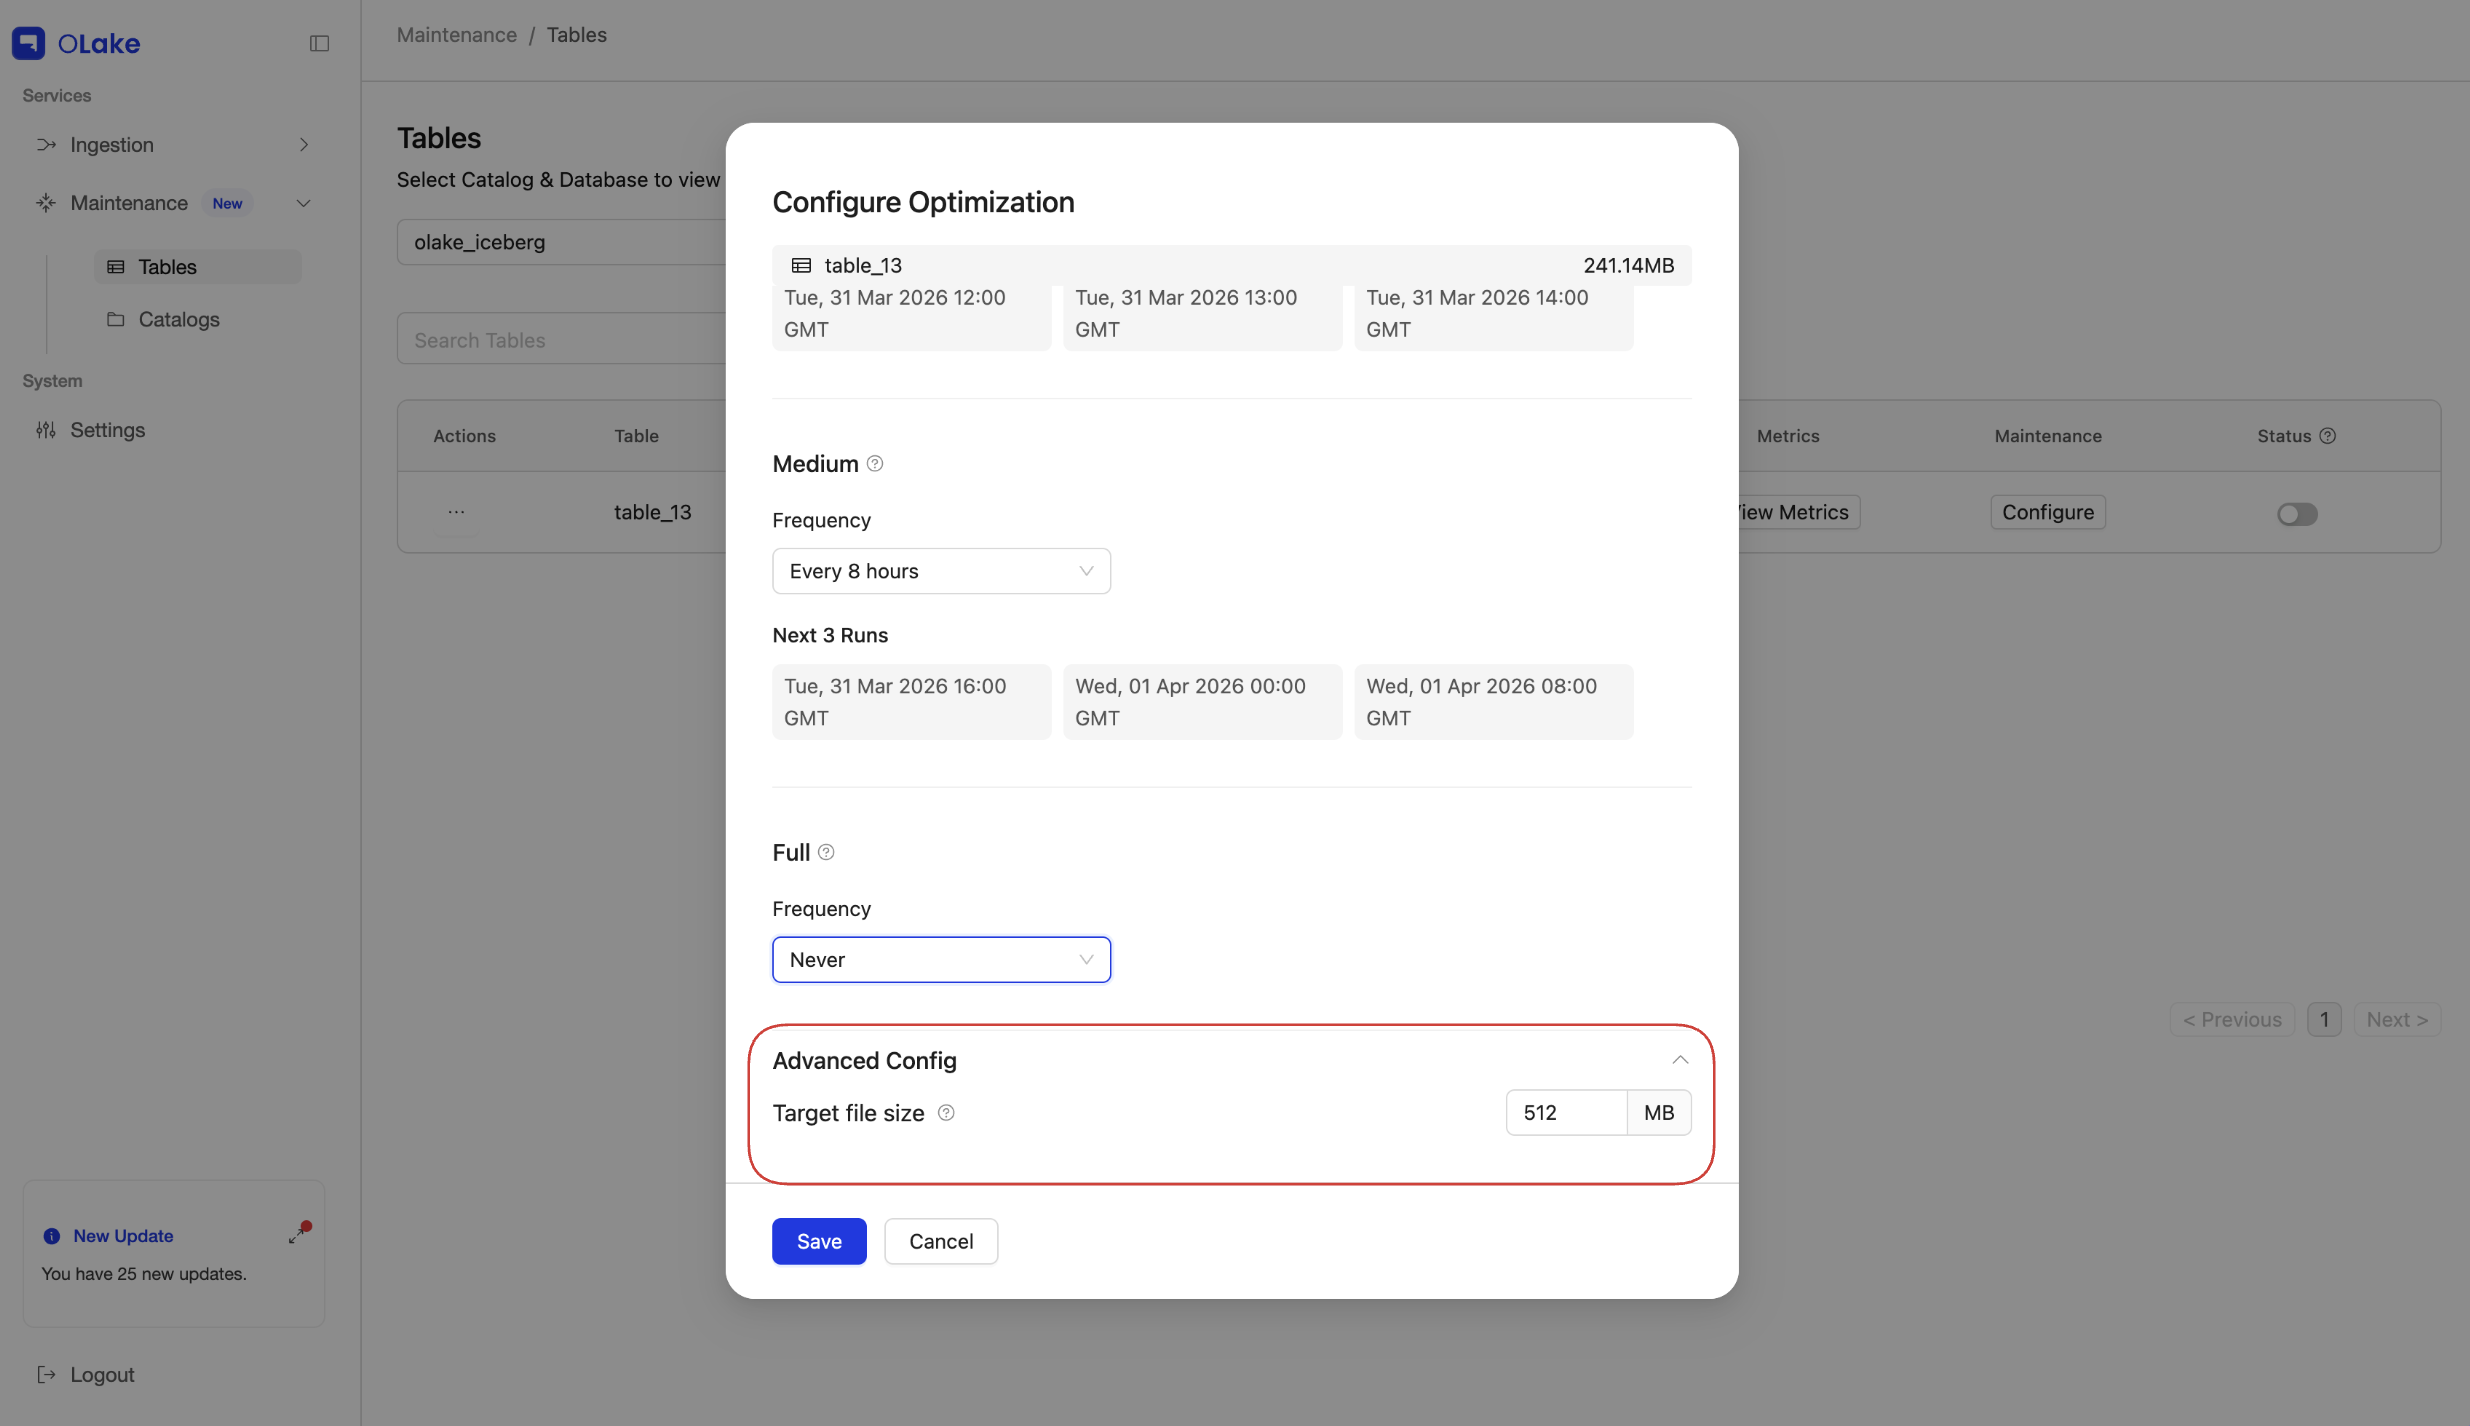
3. Advanced Config: Target File Size
- Expand the Advanced Config panel in the modal.
- Specify the Target File Size for the table (default 512 MB if you leave it unchanged).
For how target file size affects Lite, Medium, and Full optimization, see Types of optimizations supported in OLake.
Tip: Choose a target size based on your query patterns and table size. Larger files can improve scan efficiency based on the query but may increase the cost of rewriting files.
4. Save the Configuration
- Click Save.
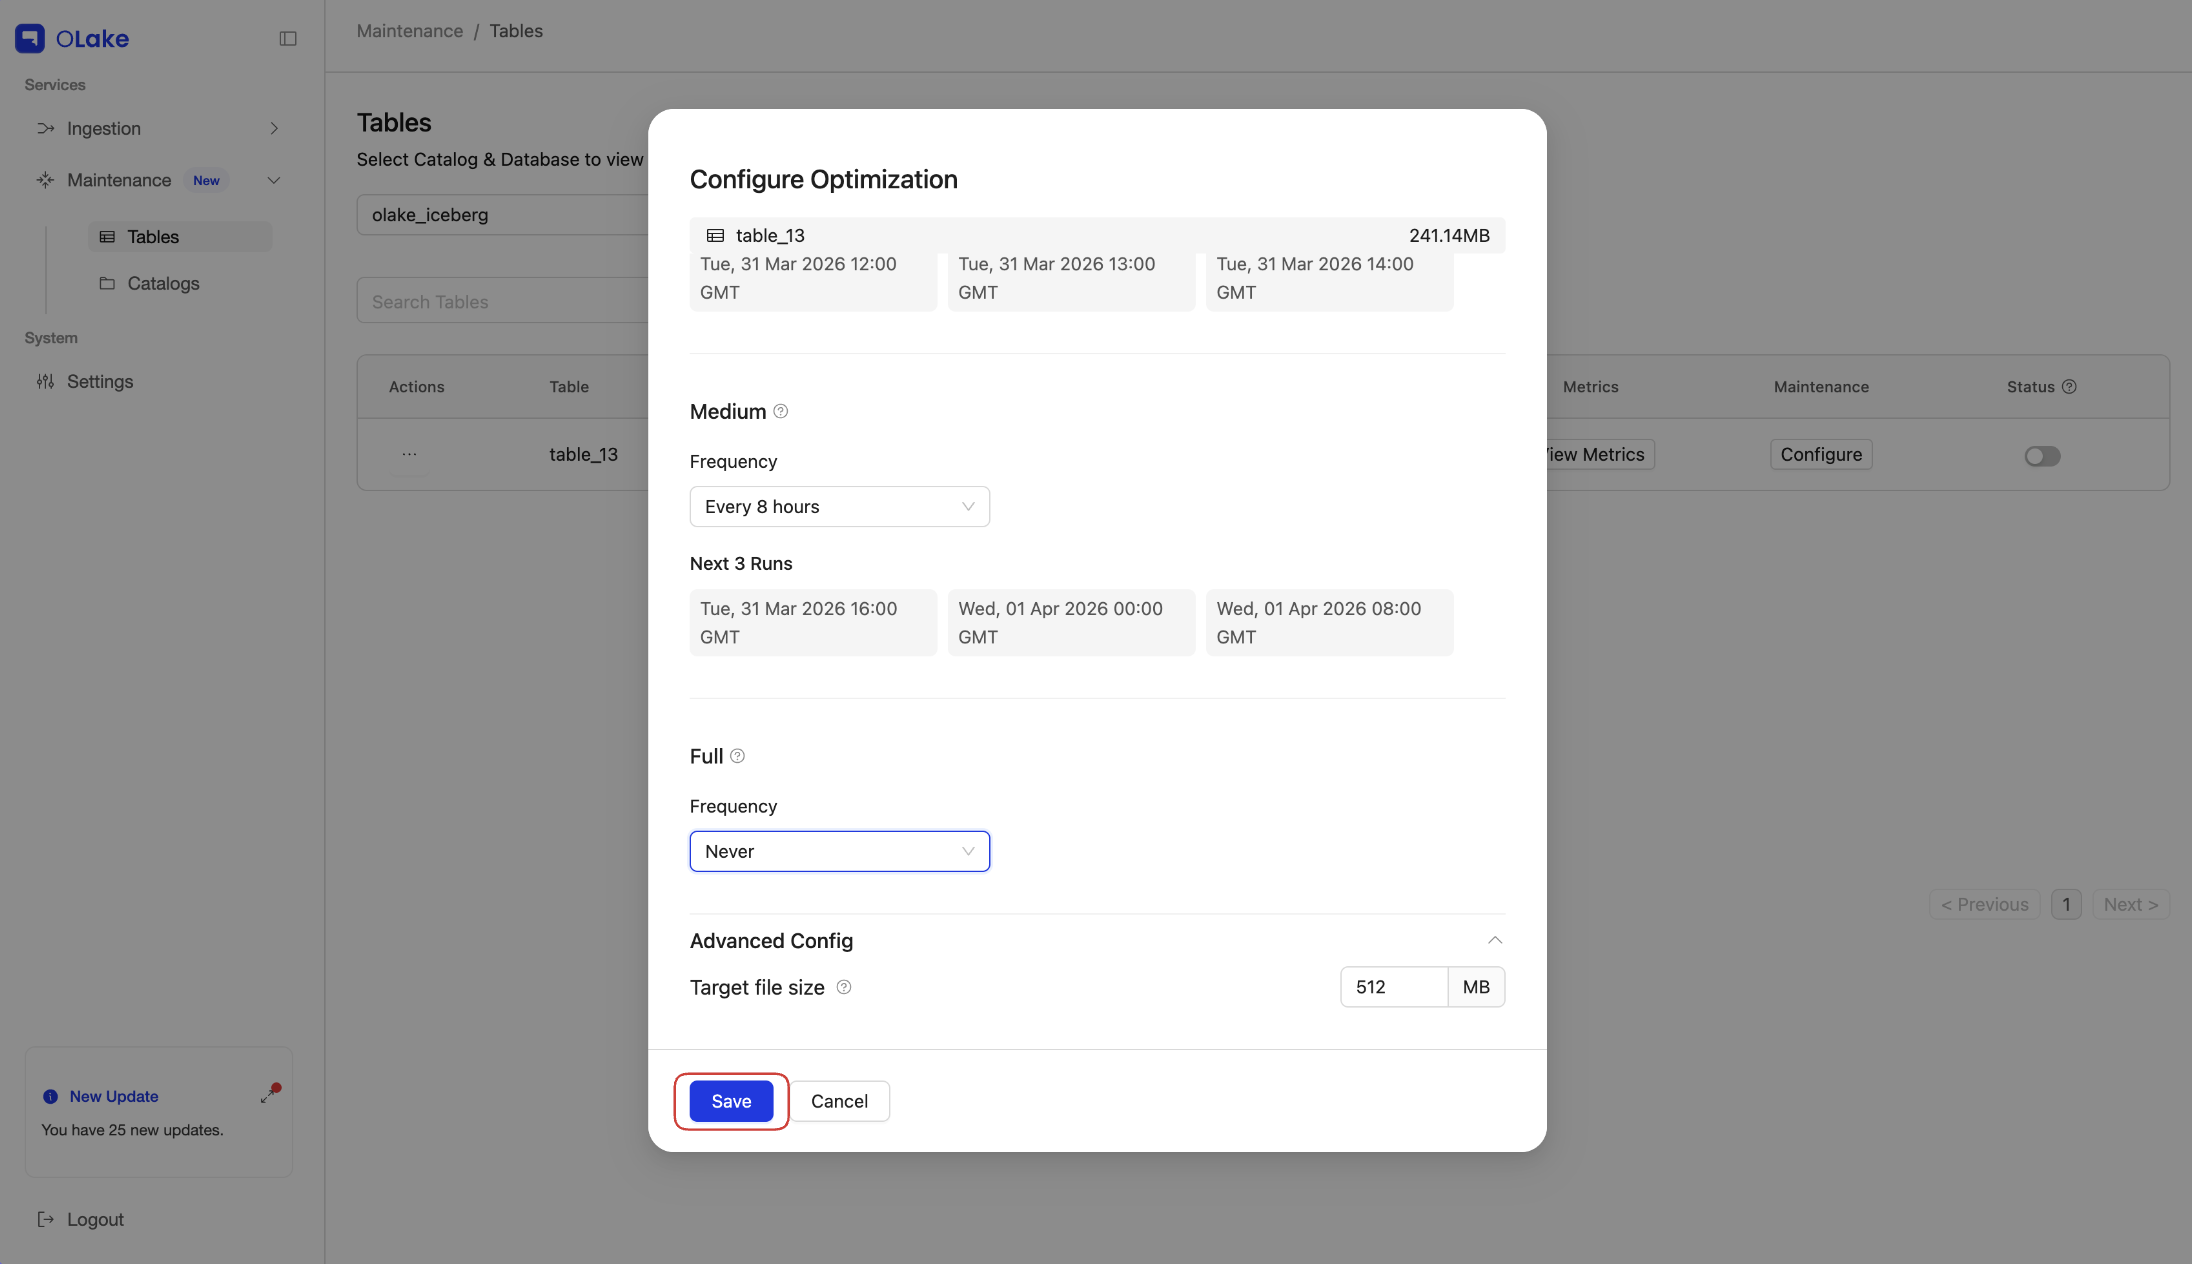
- A dialog box confirms that the configuration was successful.
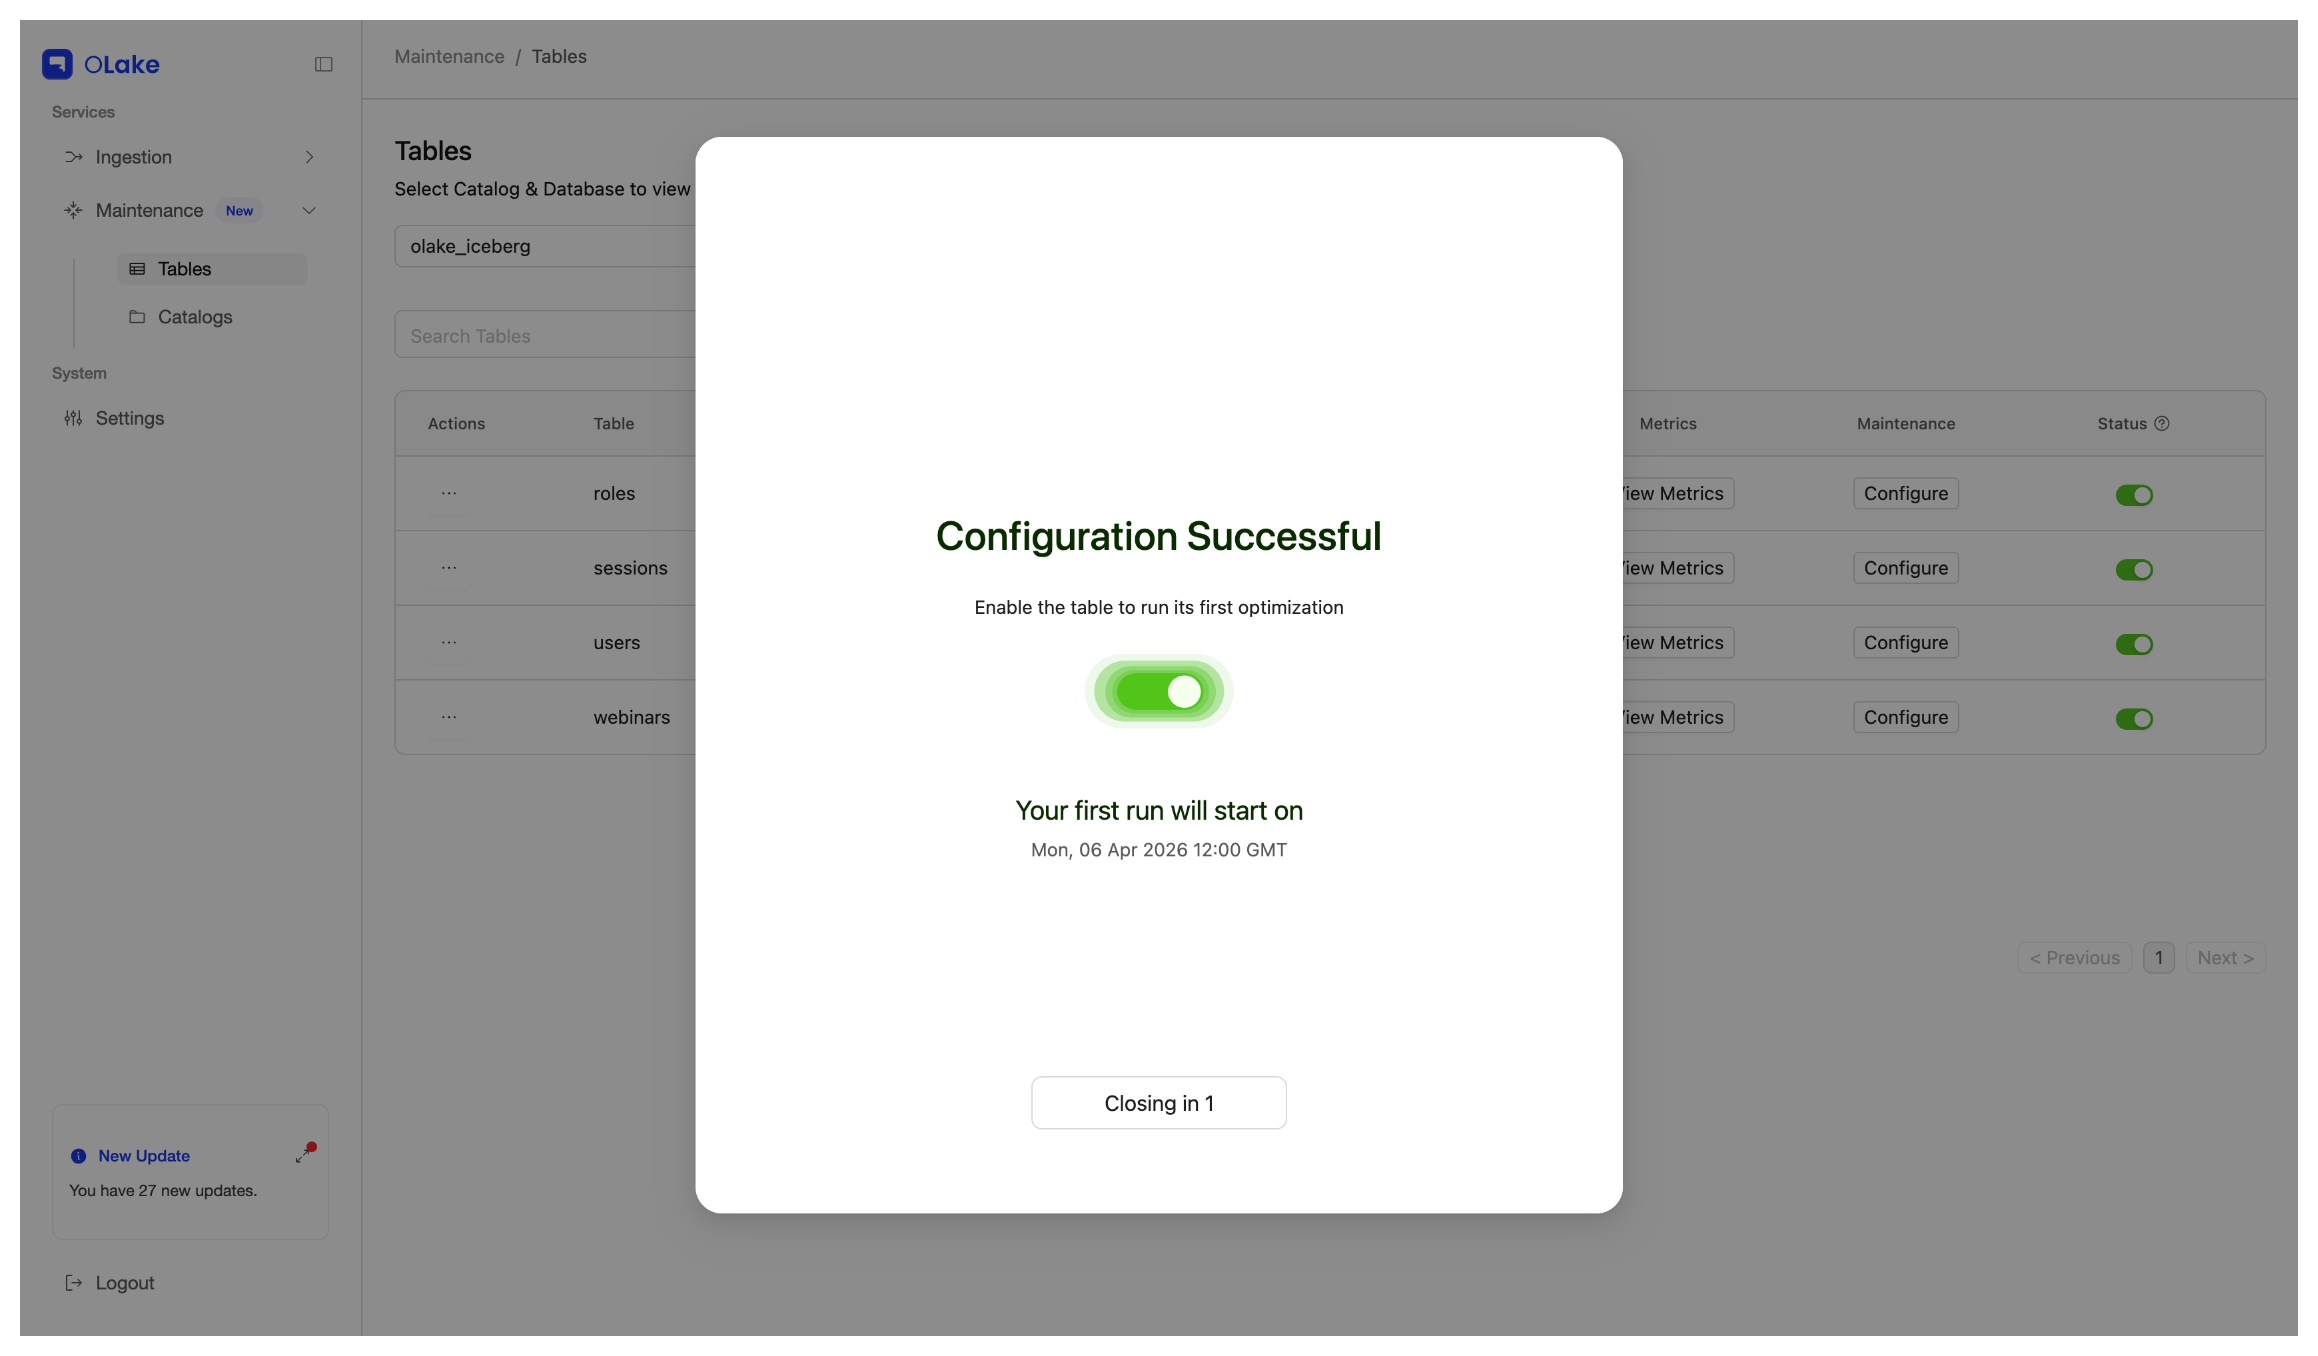
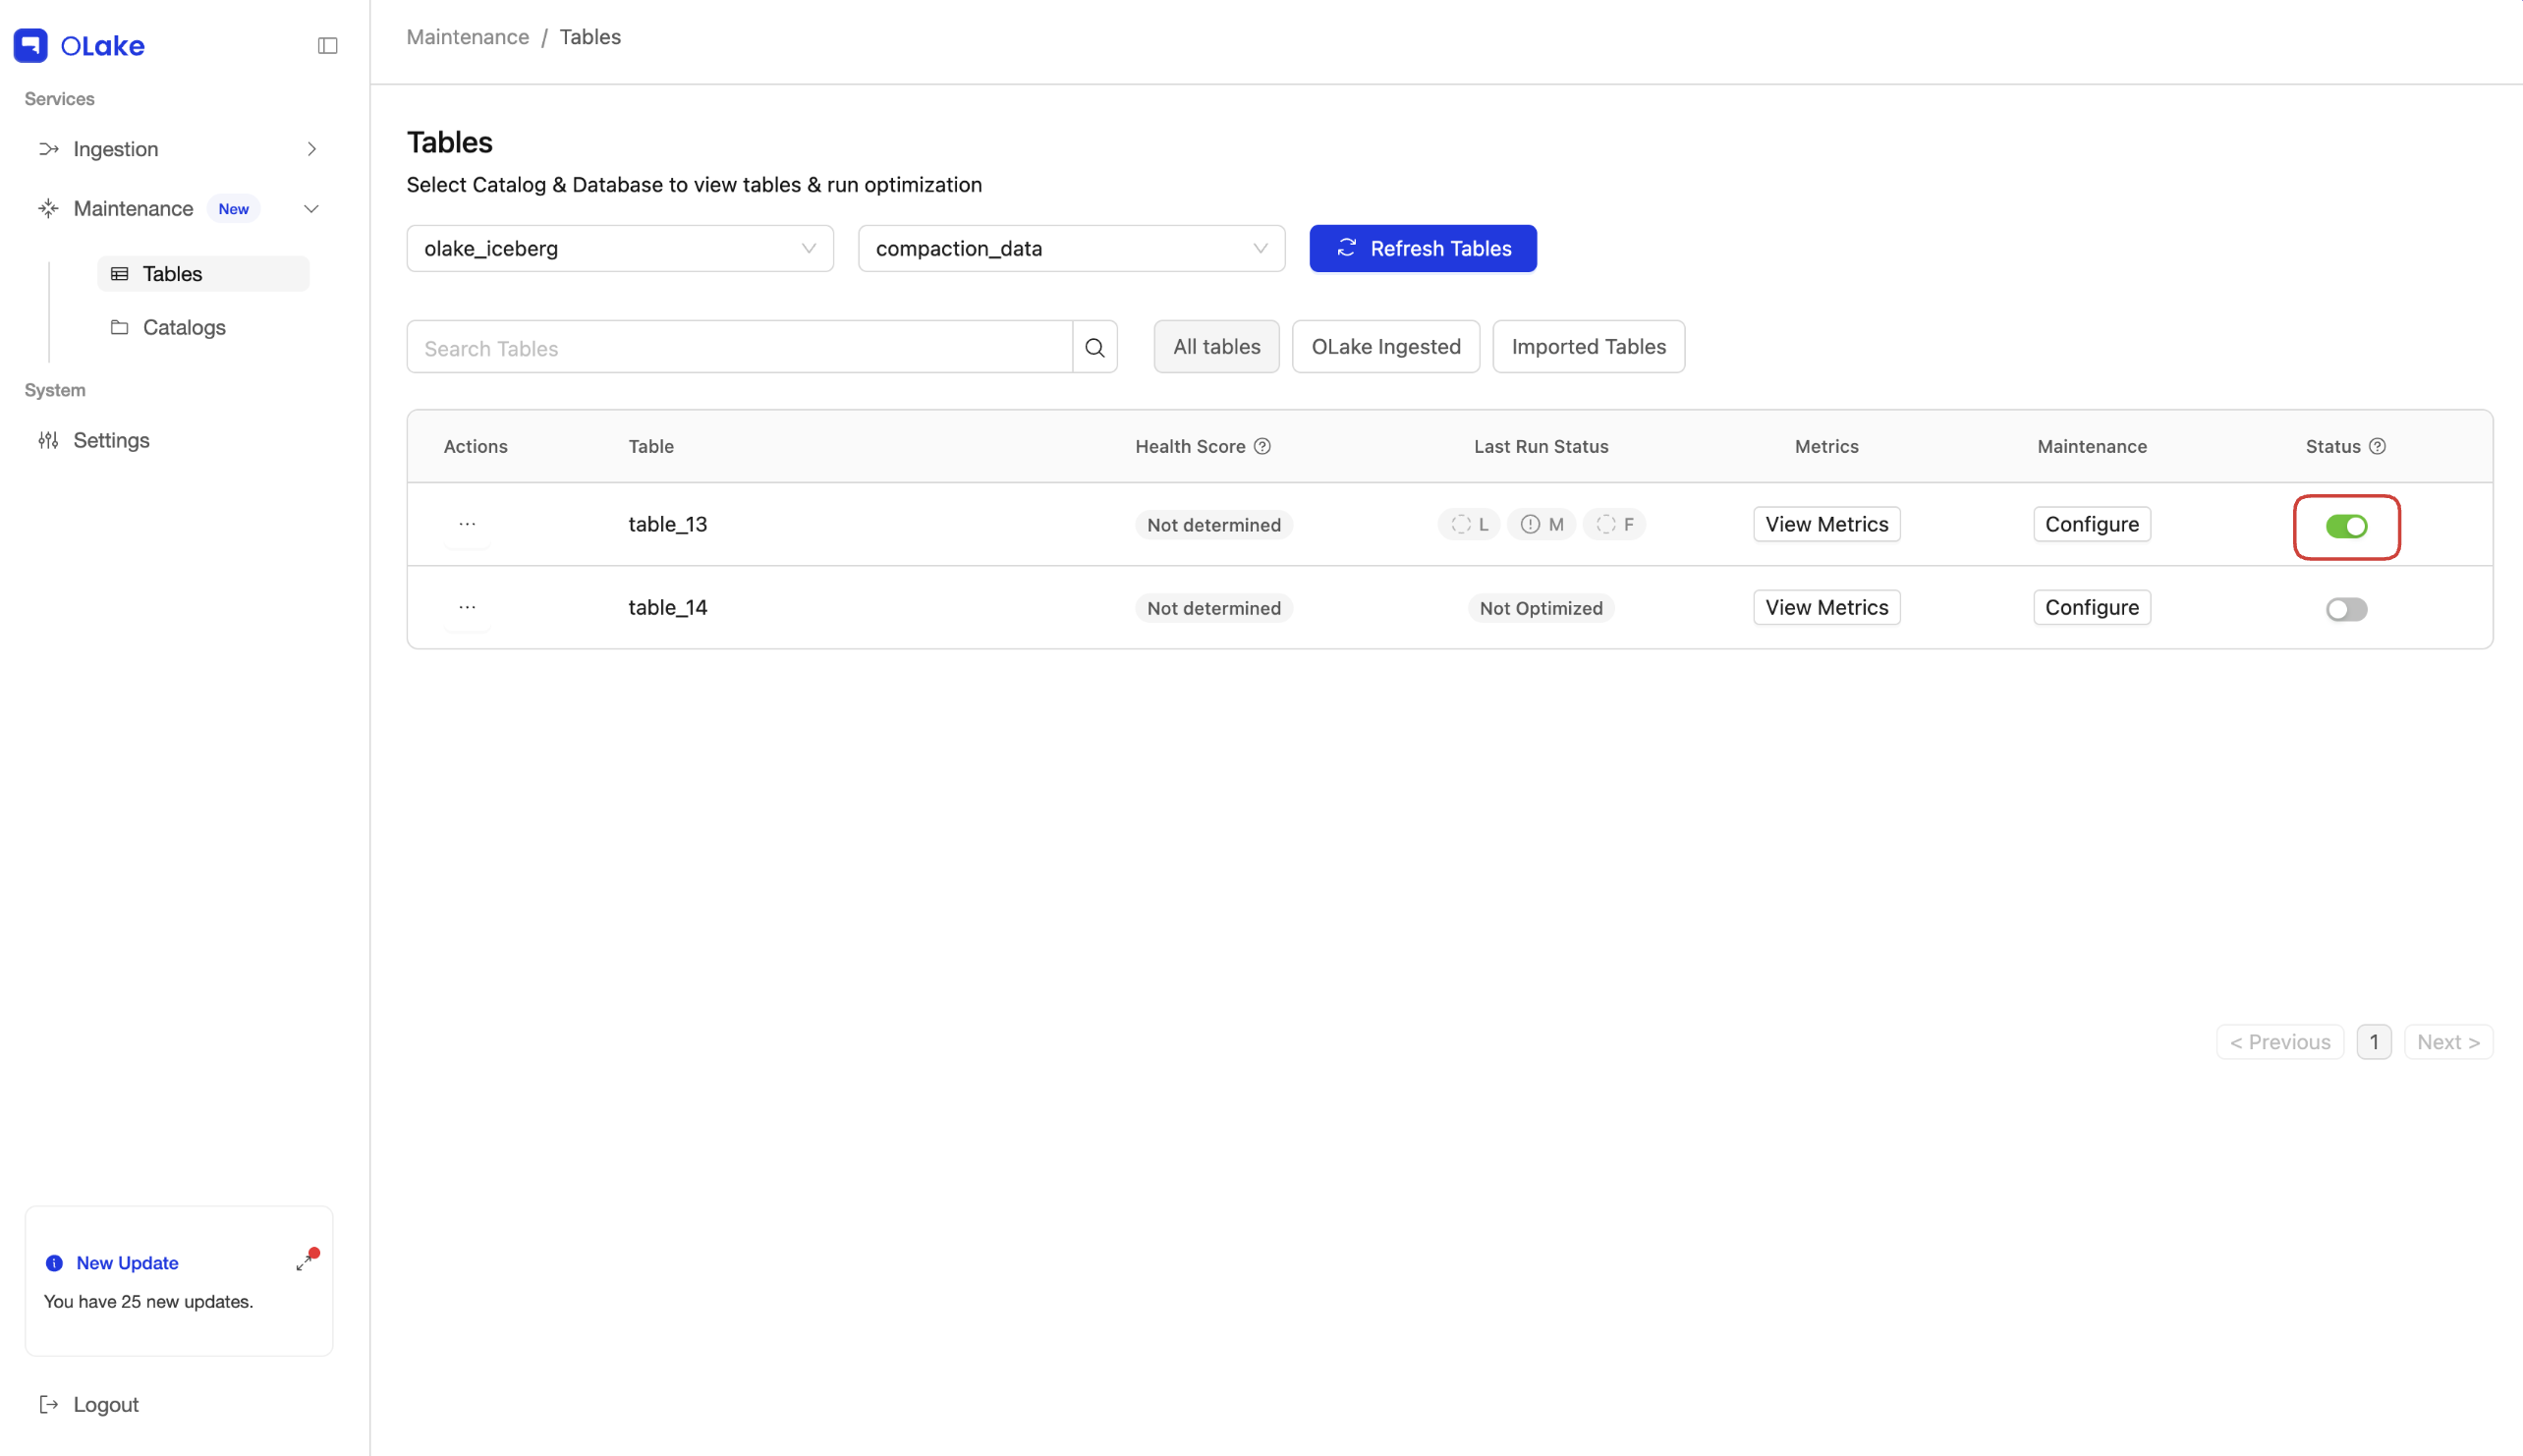
5. Enable the Table for optimization
- After saving, you will be redirected to the Tables page.
- Locate the table and toggle the Status switch to activate scheduled optimization for that specific table.
Important: The Status toggle must be switched on. Even if a cron schedule is configured, the optimization will not execute unless the table is enabled.